Setting up iView Pro and Acres with your Cisco switch.
Knowledge: Setting up iView Pro with Acres communications system (IGT Specific Harness). All required harnesses/electronics pictured inside and below the form under "Reference Photos"
When Is This Useful: When initially setting up a bank as it also shows connecting to the Acres box and connecting the IP switch to the iView box.
Gotchas: Port 1 is the ethernet port that will work on iView Pro box - not port 2. Plugging a cat5 into the port next to the one designated could cause unnecessary issues.
Pro Tip: Find space for the iView box first and remember cords will be coming out of the front of it that shouldn't be scrunched or have lots of tension.
Step 1 - Preparation: Pictured at the bottom of this form is everything you will need for this setup. As you follow the steps, words will be highlighted; pressing on those highlighted words shows the linked image for easy follow along.
Step 2 - iView Pro Box: Setting up the iView Pro Box can be confusing at first; Multiple ports are the same size, using port 2 instead of port 1 can cause problems. I am looking to help clear up confusion with this guide. First things first, find a spot to put your iView Pro Box, and keep in mind it will need room for cables coming out of it that shouldn't be bending or pinched, and should be tension free.
Lets get the molex connectors that are the same size out of the way first. At Hollywood Joliet we use COM8 and PANEL. Make sure to confirm with your supervisor or manager before finishing setup.
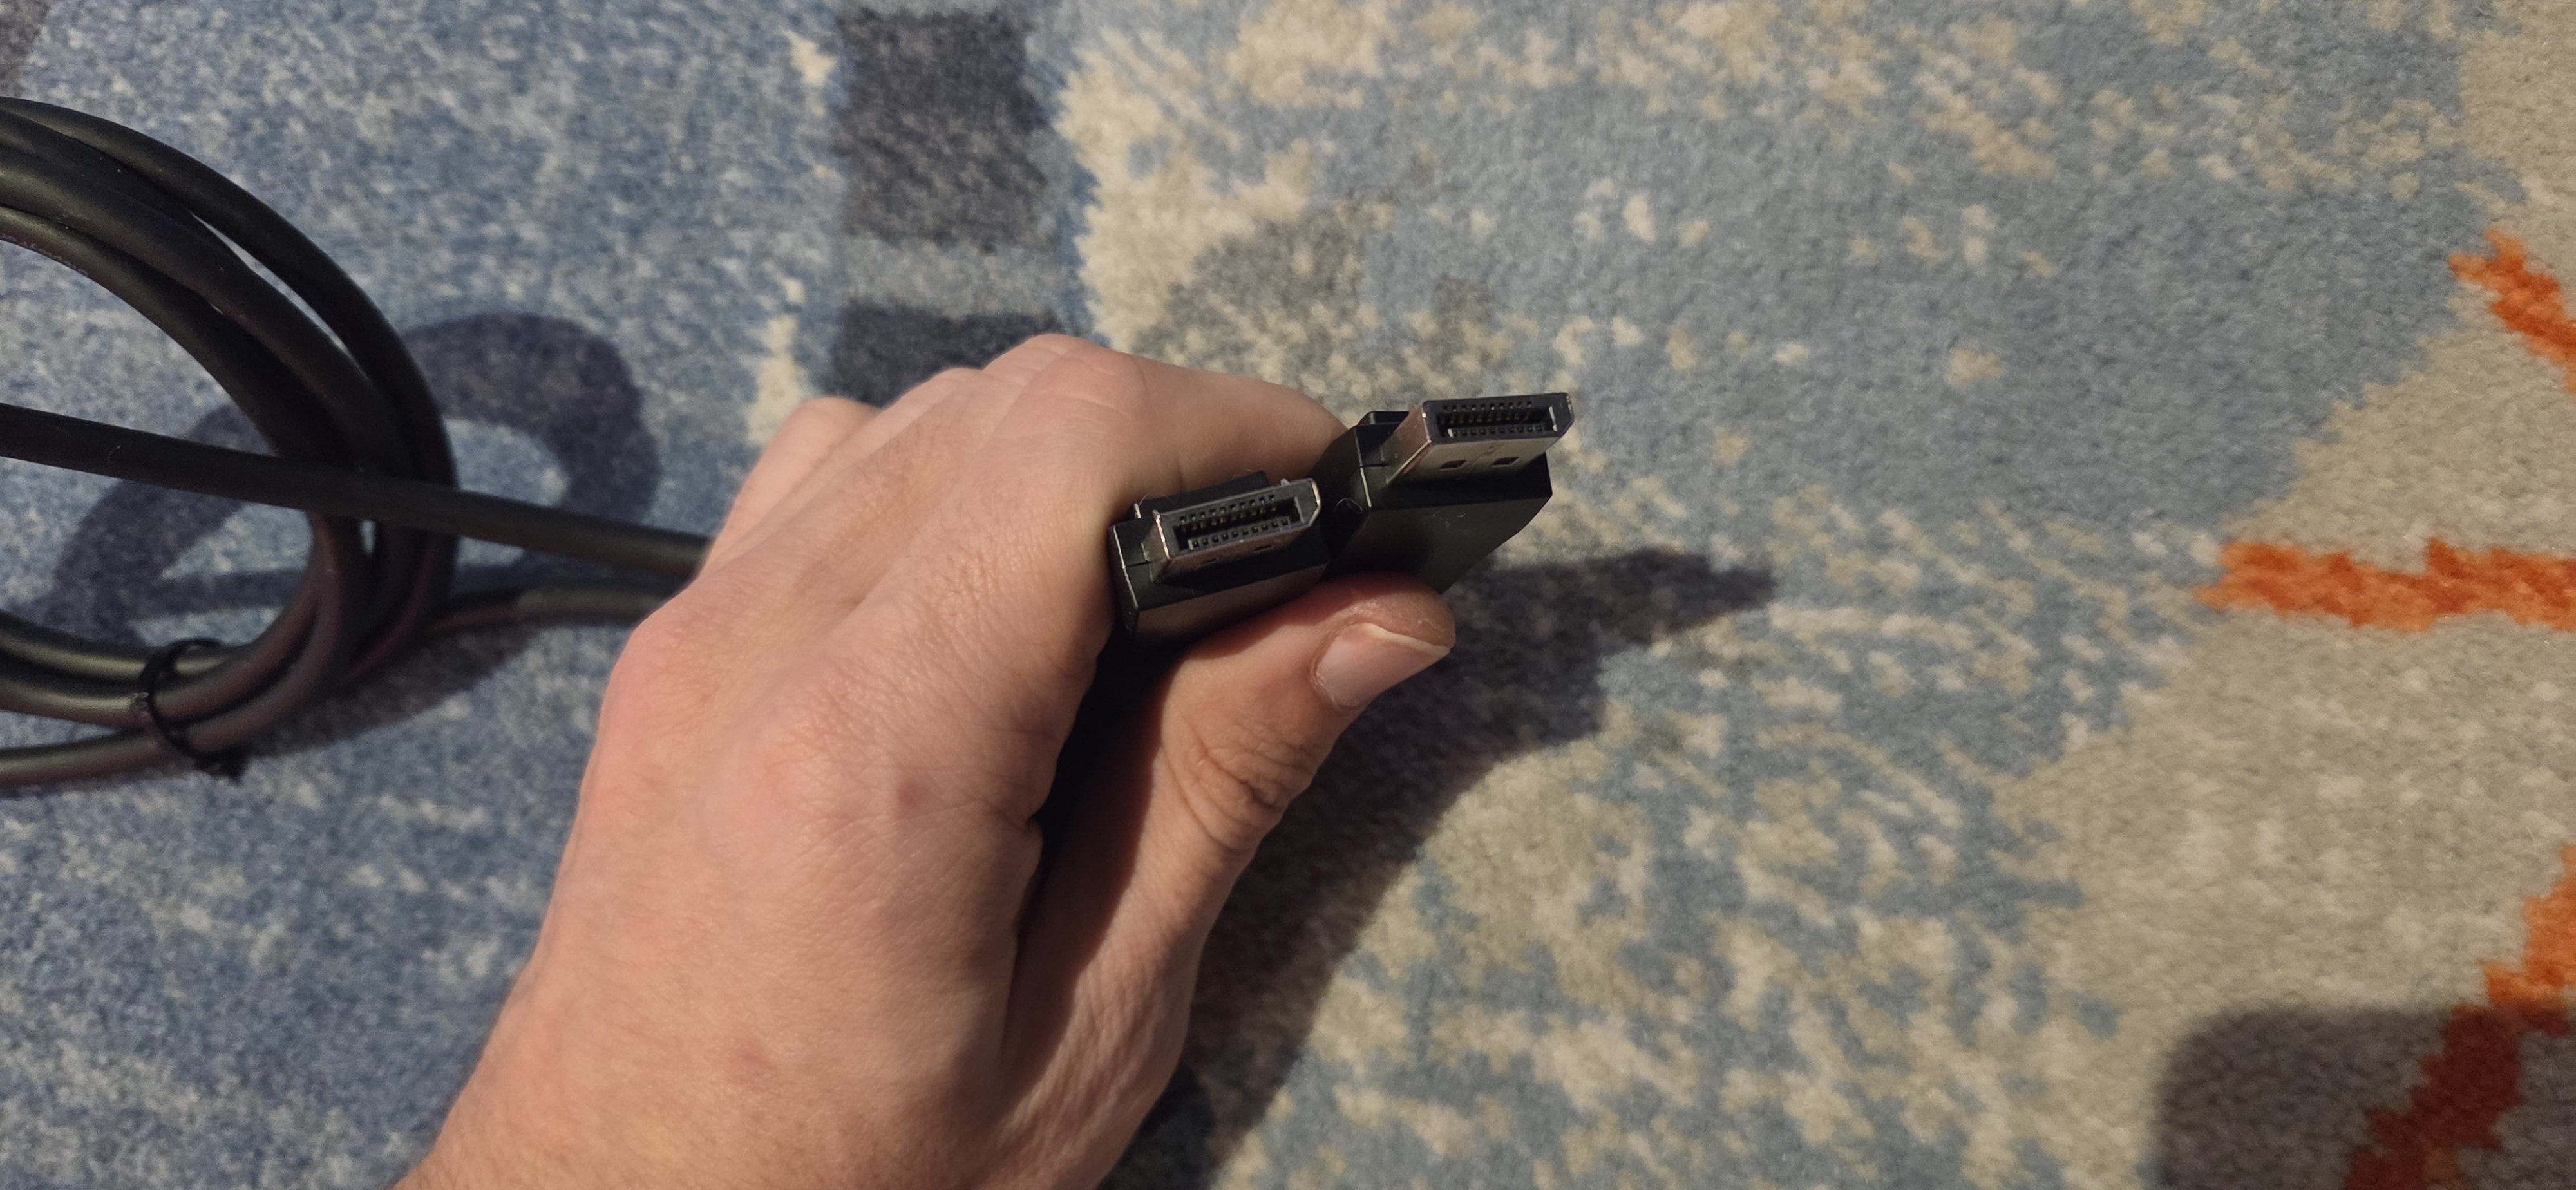
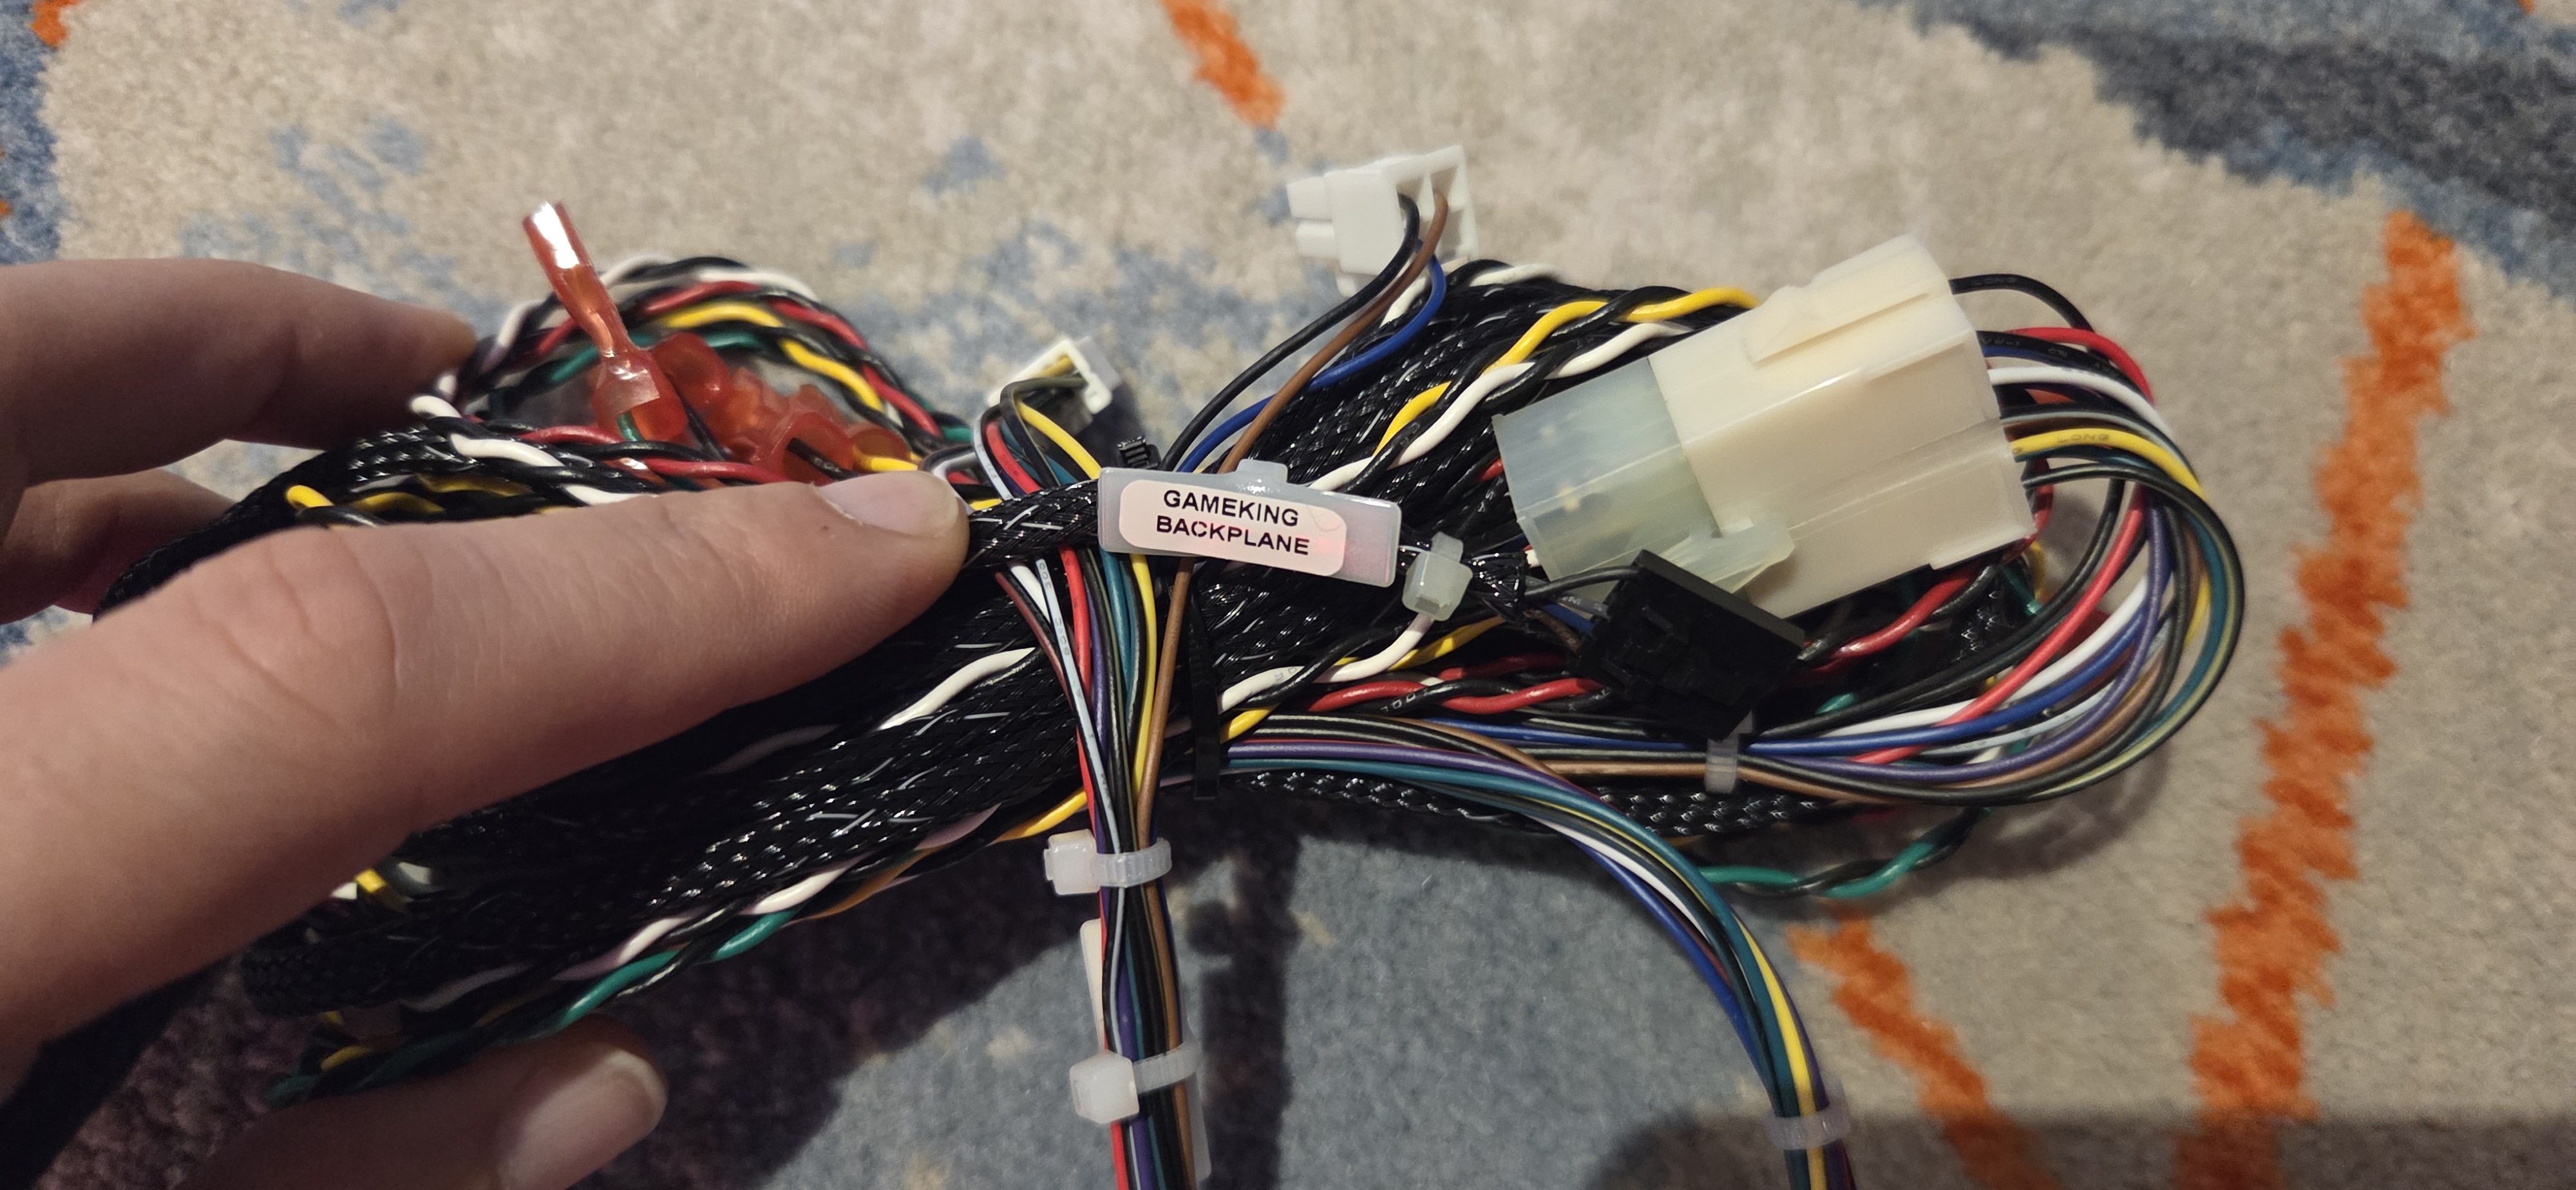
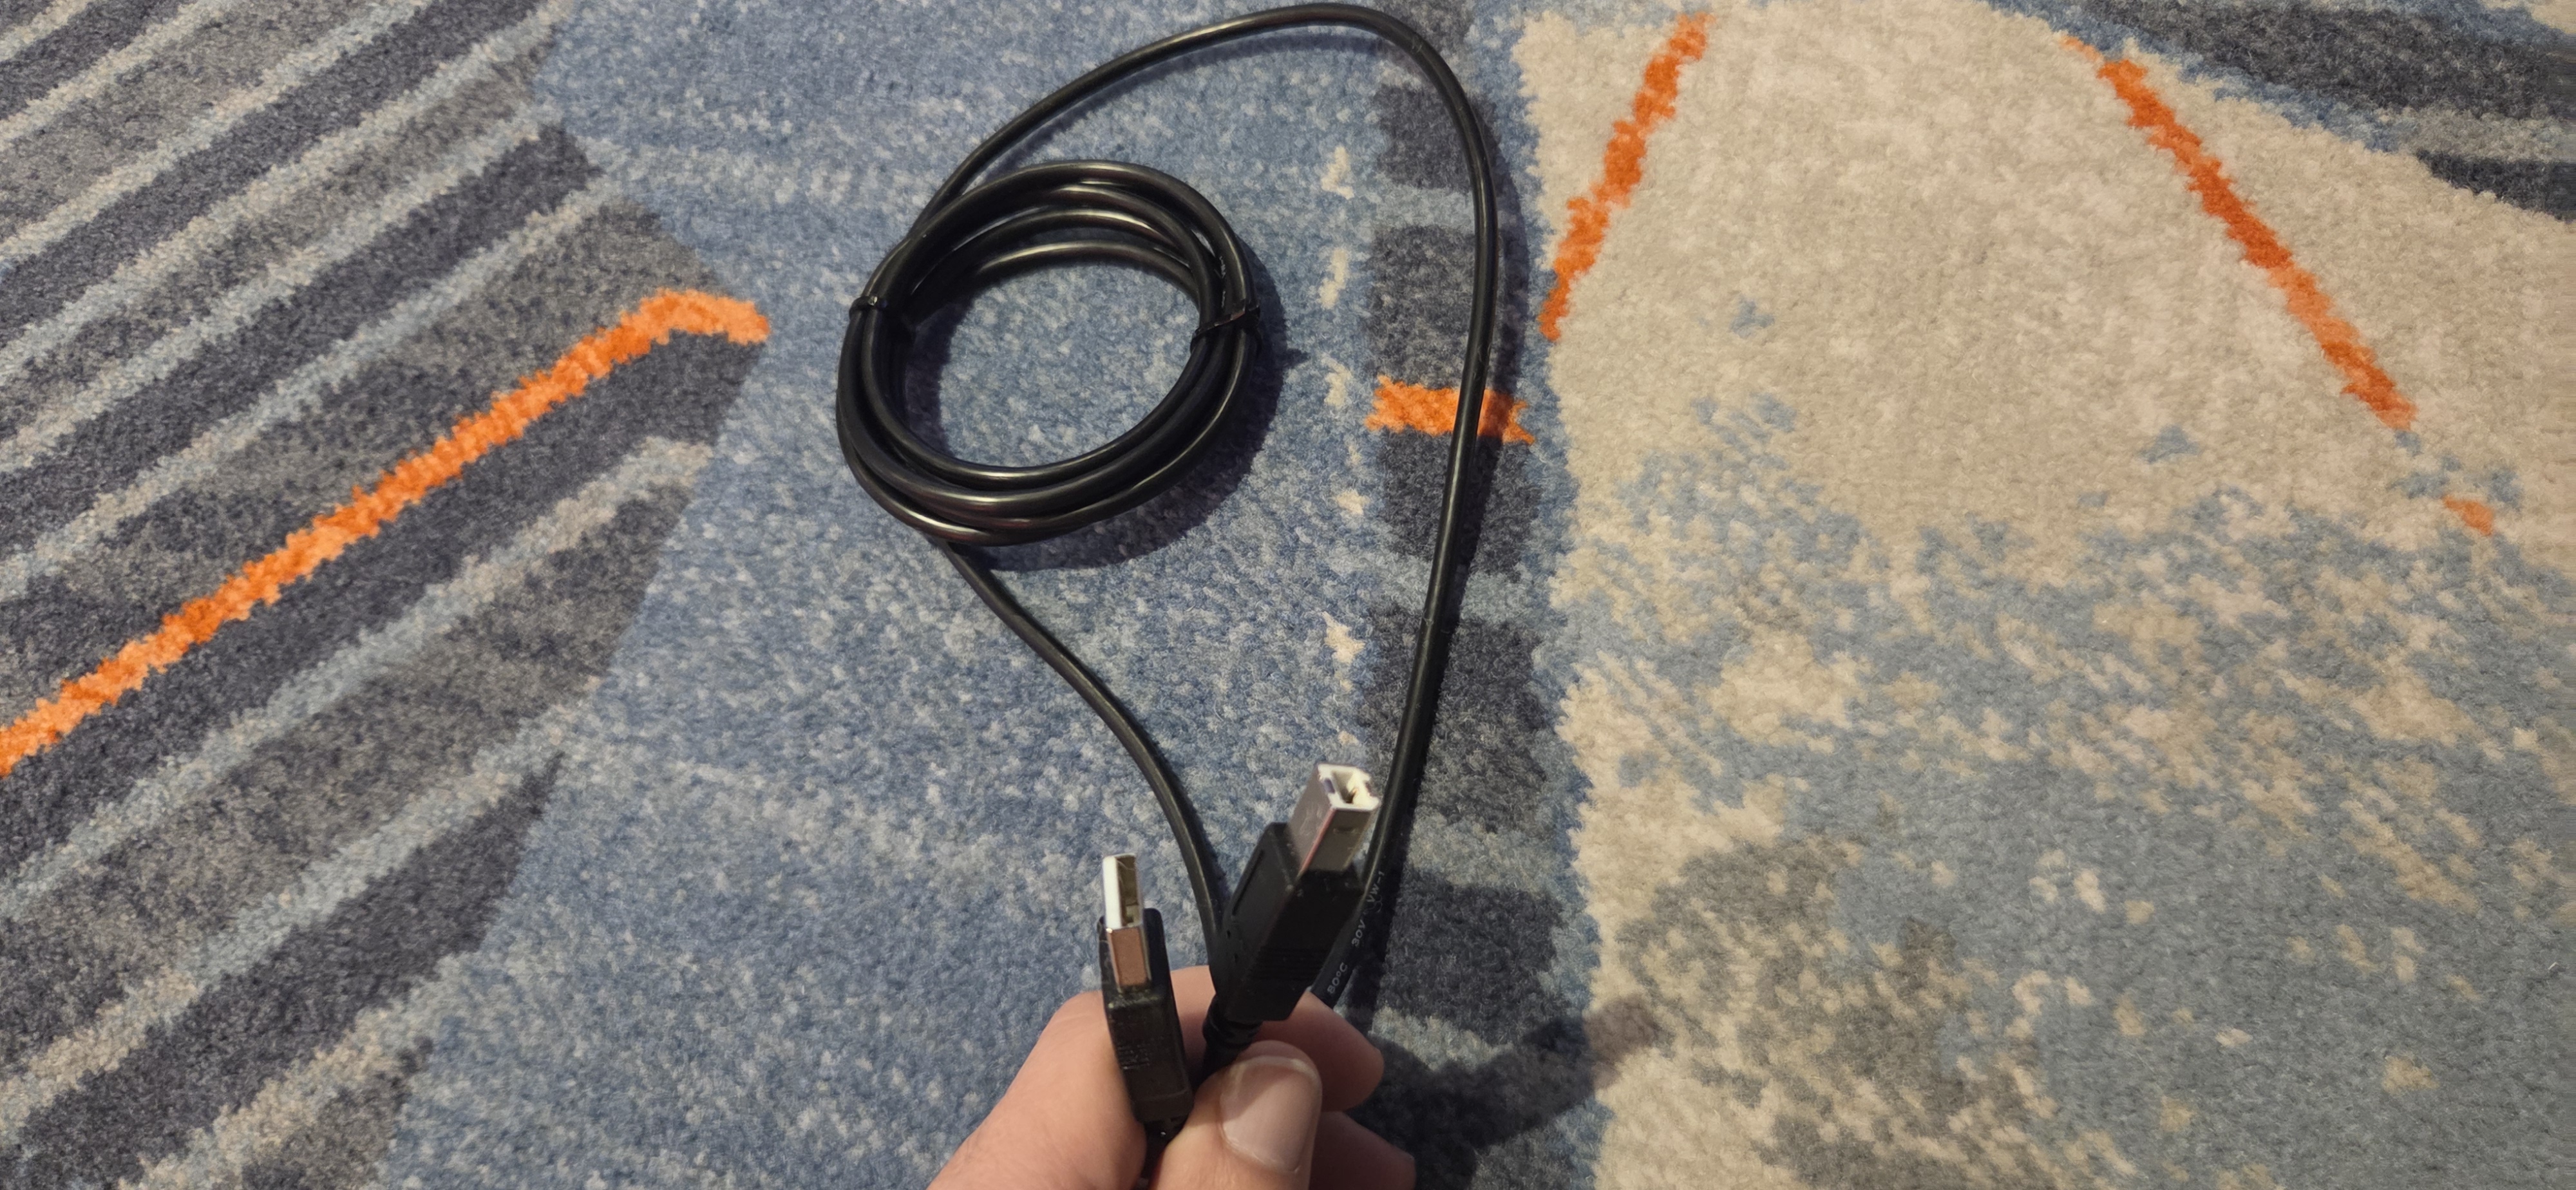
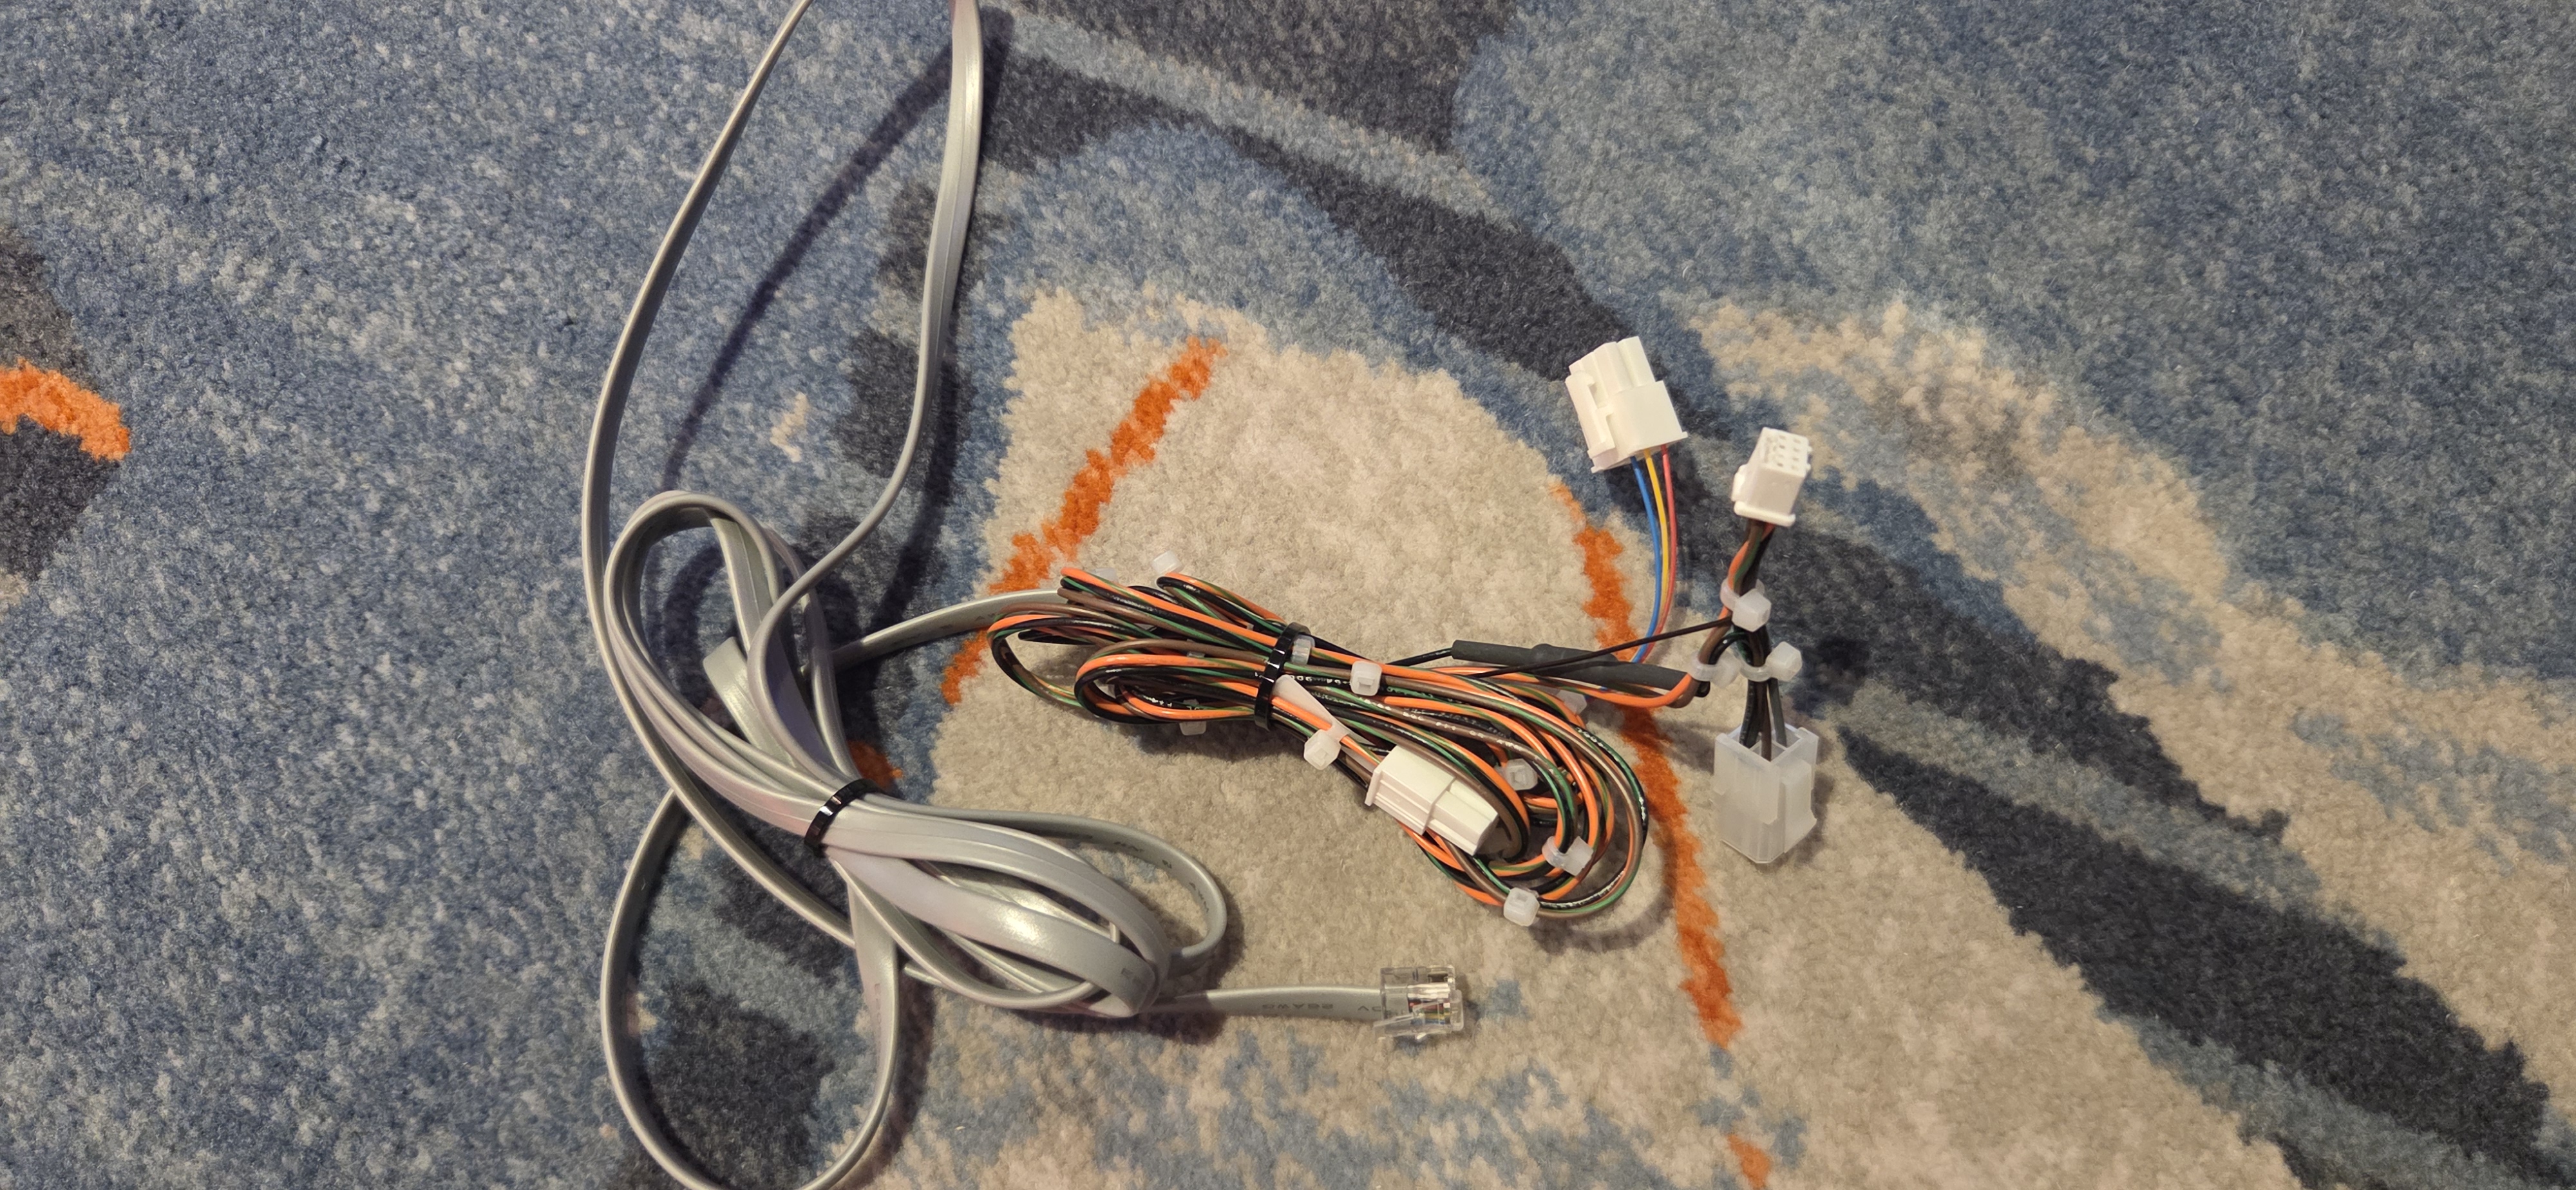
Your COM8 harness will look the same on all cabinets except for one thing, the braided com line. Since this is an IGT, you are look for the "Gameking Backplane" harness. Plug these two connectors into your iView Pro Box COM8 and DOORS. The backplane part comes soon. Now take your card reader harness and plug it into your iView Pro Box in the PANEL and GAME slots. At Hollywood Joliet we do *not* loop our DMTOURNAMENTS harness. Your USB-POWER cable and DISPLAYPORT-DISPLAYPORT cable can now go into Display Port 2 and the USB slot directly next to it. Power will come later - for now step 1 is done.
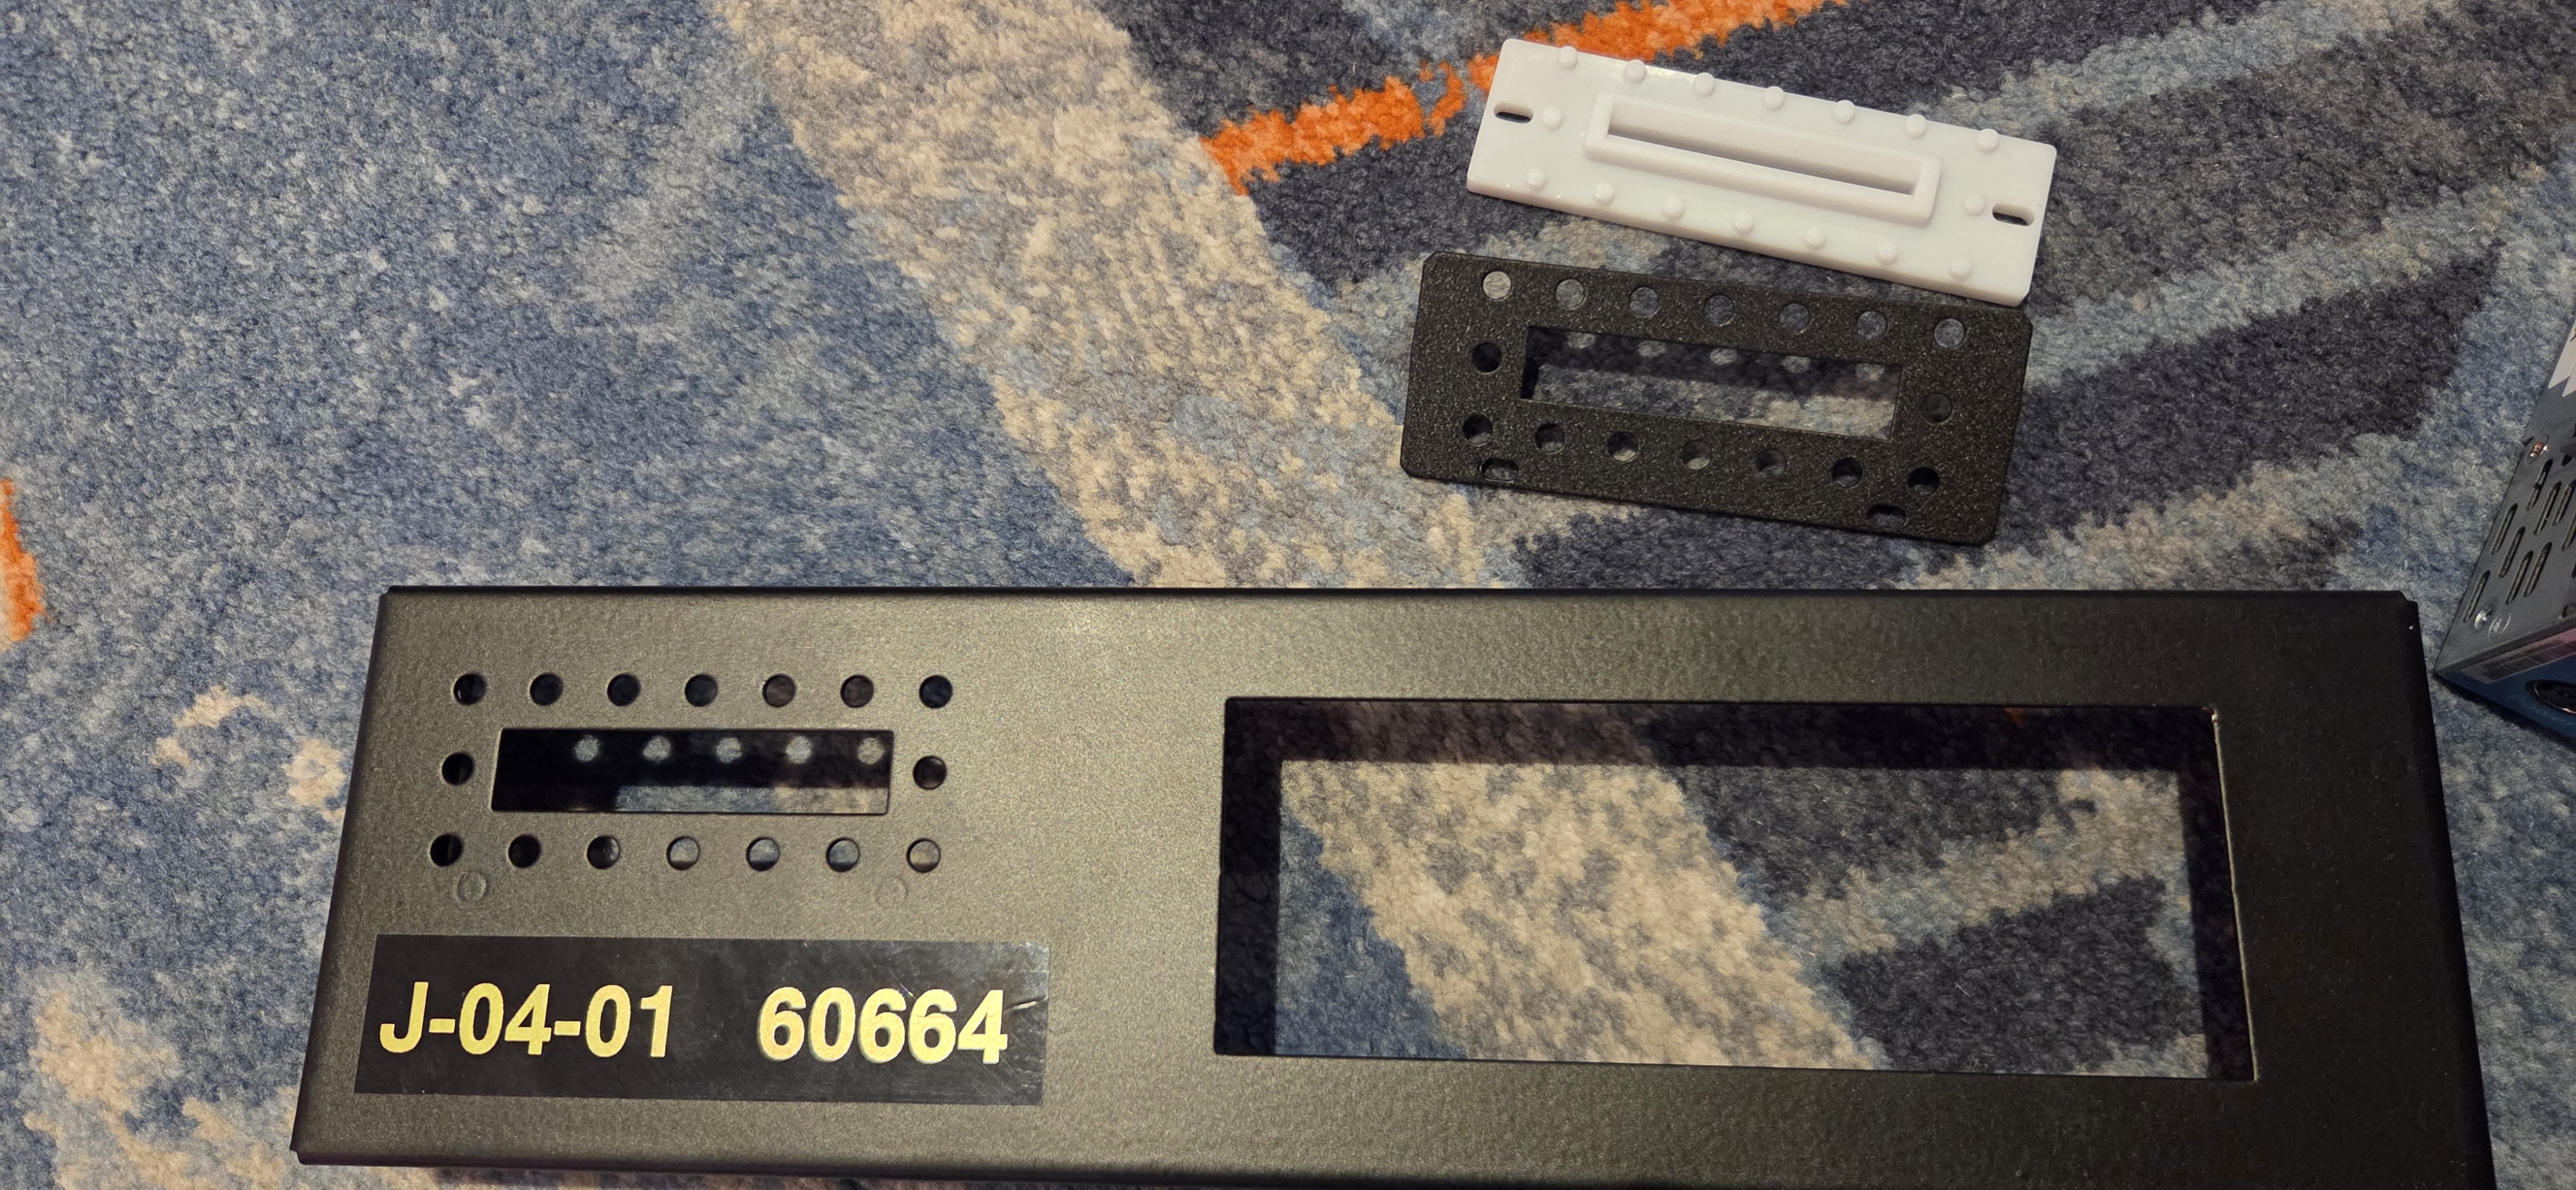
Step 3 - Faceplate - Initial: Setting up the initial faceplate is easy as can be, but make sure you have the correct faceplate. Each model will have a different variation of it so confirm with your supervisor or manager you have the correct plate - or just try it anyway.
Looking at the back of the faceplate, place your black card reader bezel so the nuts can be tightened on the bottom. Place the white bezel on top, followed by the card reader. Only hand tighten the two nuts on the side, we must align it with a mechanics card first so guests player cards go in smoothly. Then place your LCD screen inside the faceplate, make sure it isnt upside down or youll have to flip the screen physically later. It will help for these games specifically to now install the bottom half of the faceplate, so you can have space to reach in for a harness but also keep it secured to set up for step 3.
Step 4 - iView to Faceplate: Time to run the cables from the ports on the iView Pro Box to the faceplate. Panel/Game harness has a gray cable for the card reader. Send it up and plug it in. Same thing for DISPLAYPORT and USB harnesses. They plug into the LCD screen.
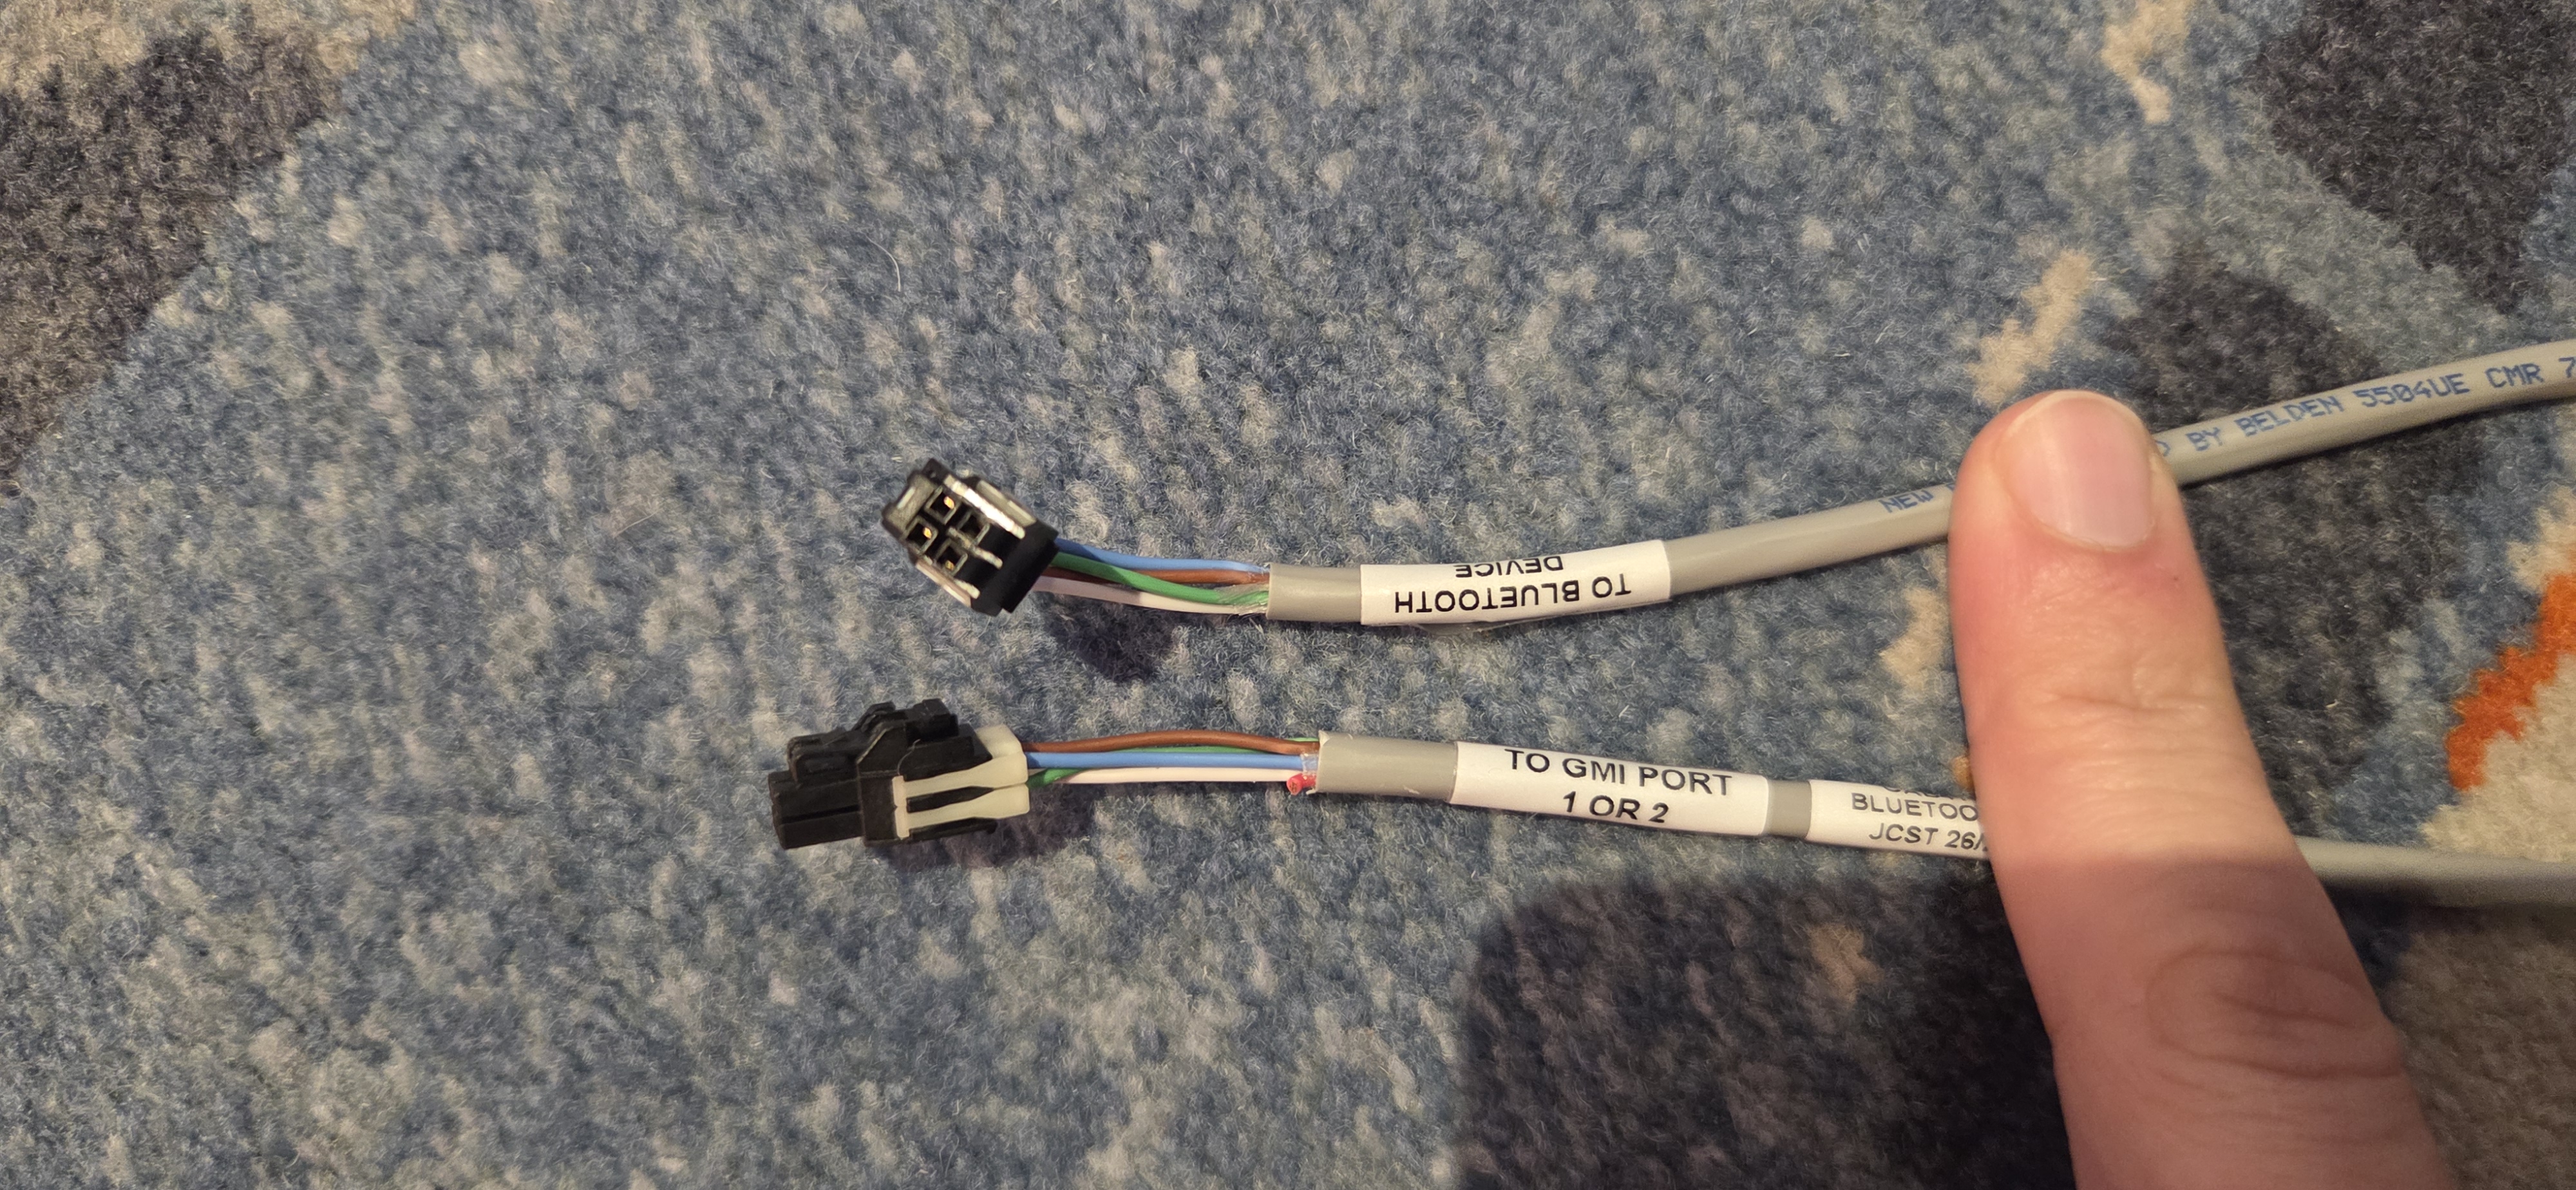
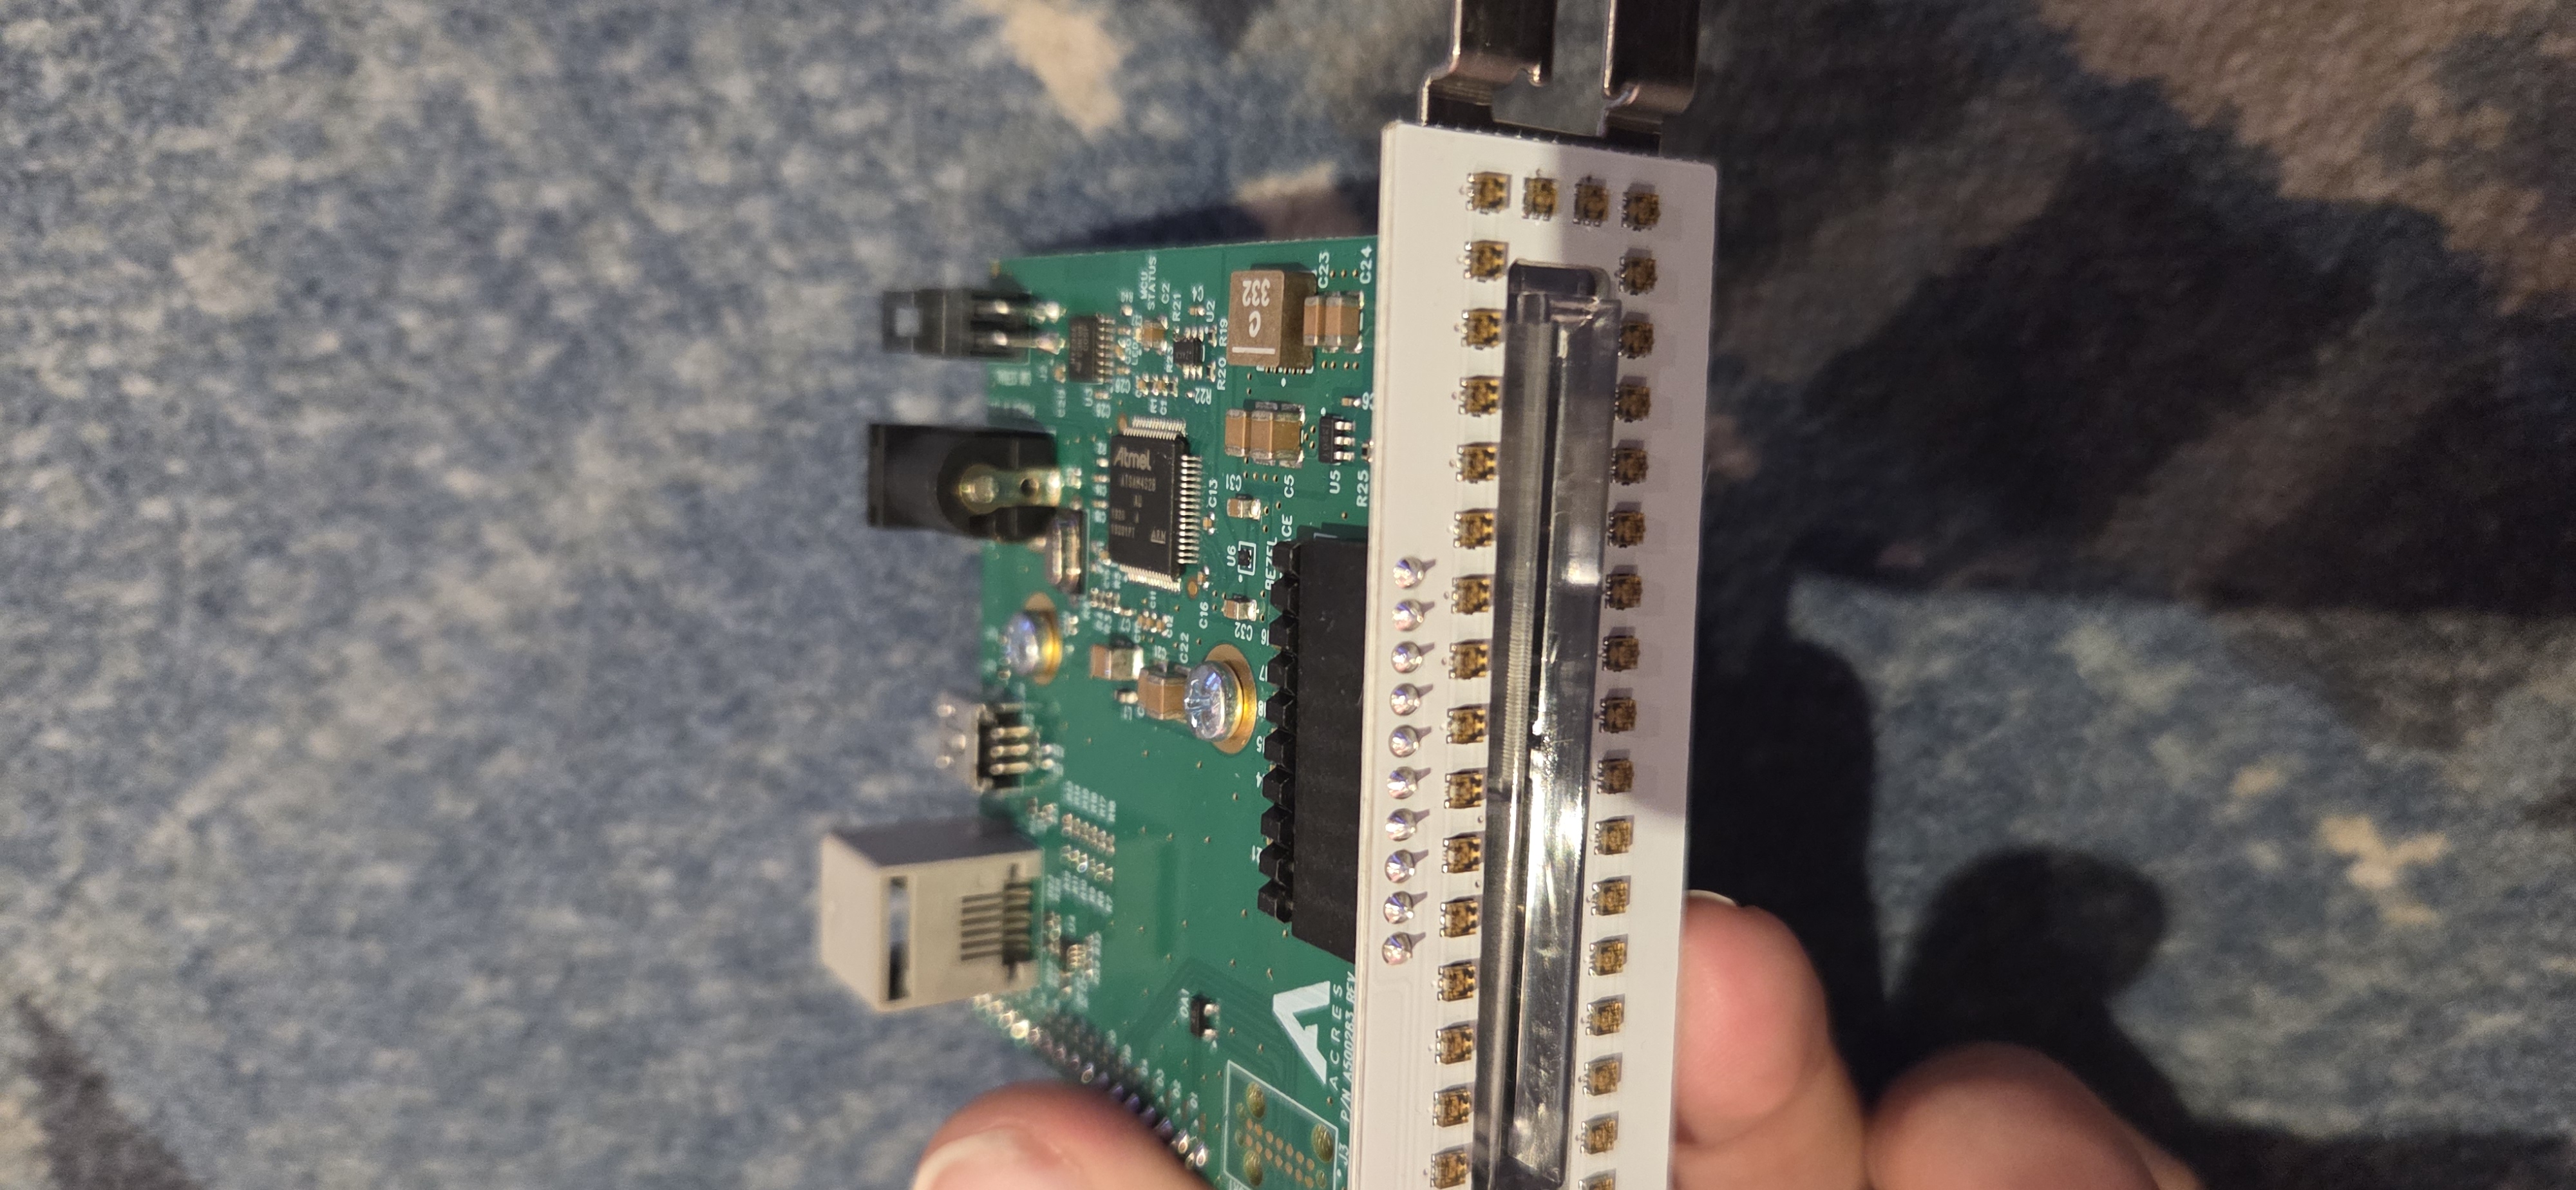
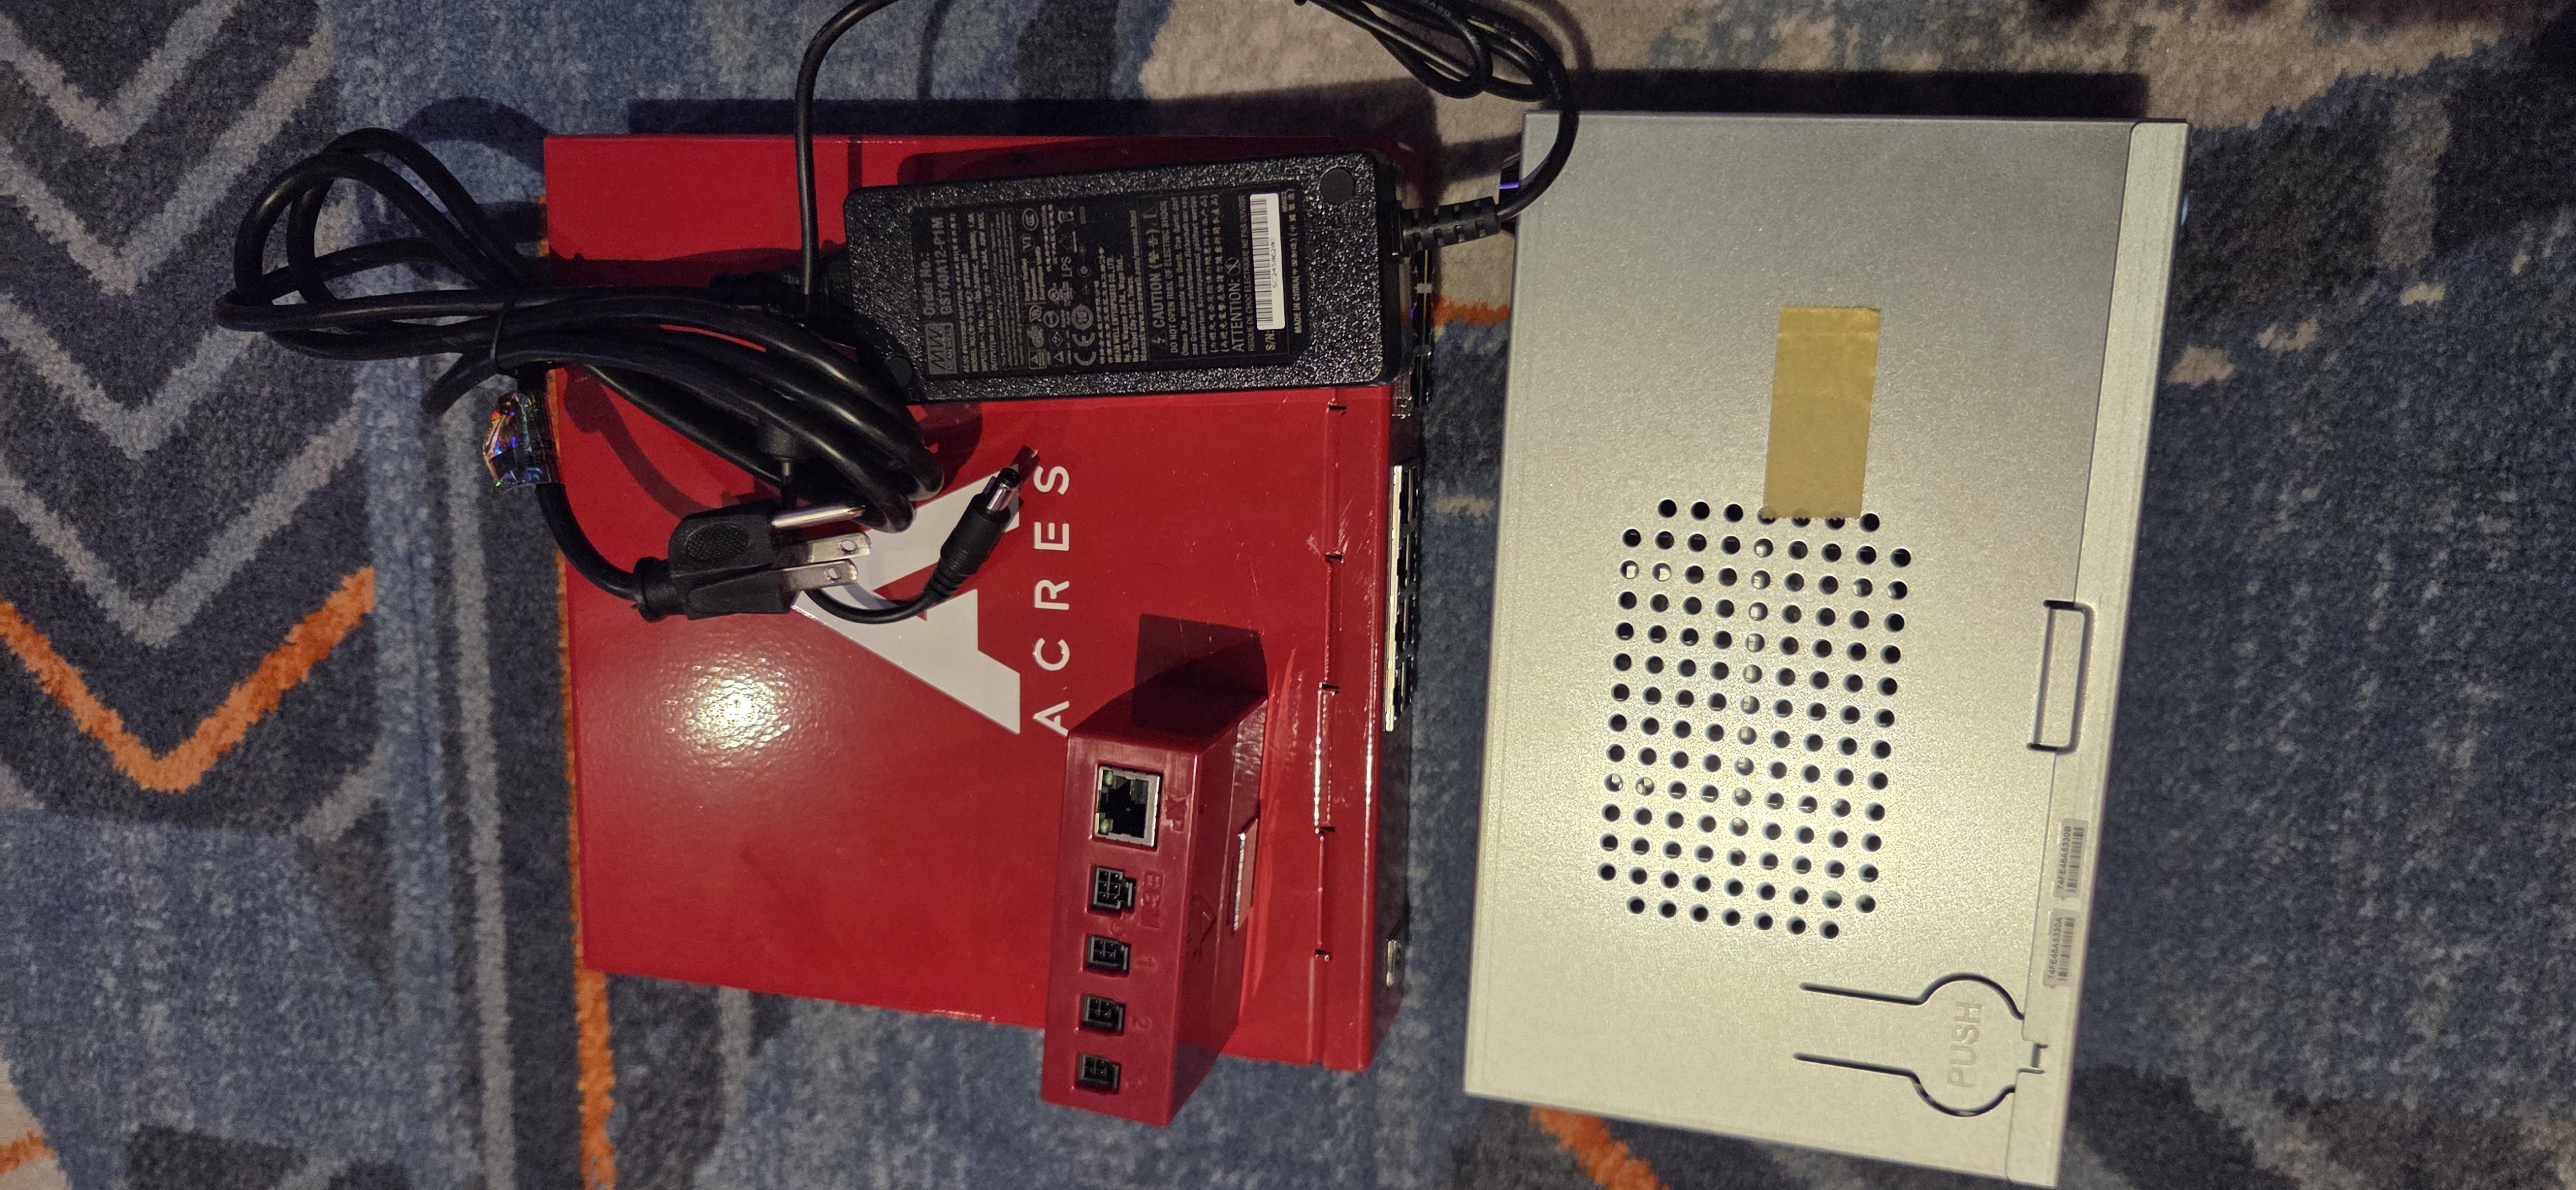
Step 5 - Card Reader - Final Steps: The card reader has two ports we have not used yet. They are for the power and the eventual Bluetooth capabilities. Take the Bluetooth cable and plug it into the back of the card reader, run it down by your iView Pro Box. The other end will be plugged into the red small GMI box.
We are going to skip the power for now, I will explain why later.
Step 6 - Communications Setup: Now, all we have to do is connect all the cat5 cables, and one comm line to the backplane. Easy.
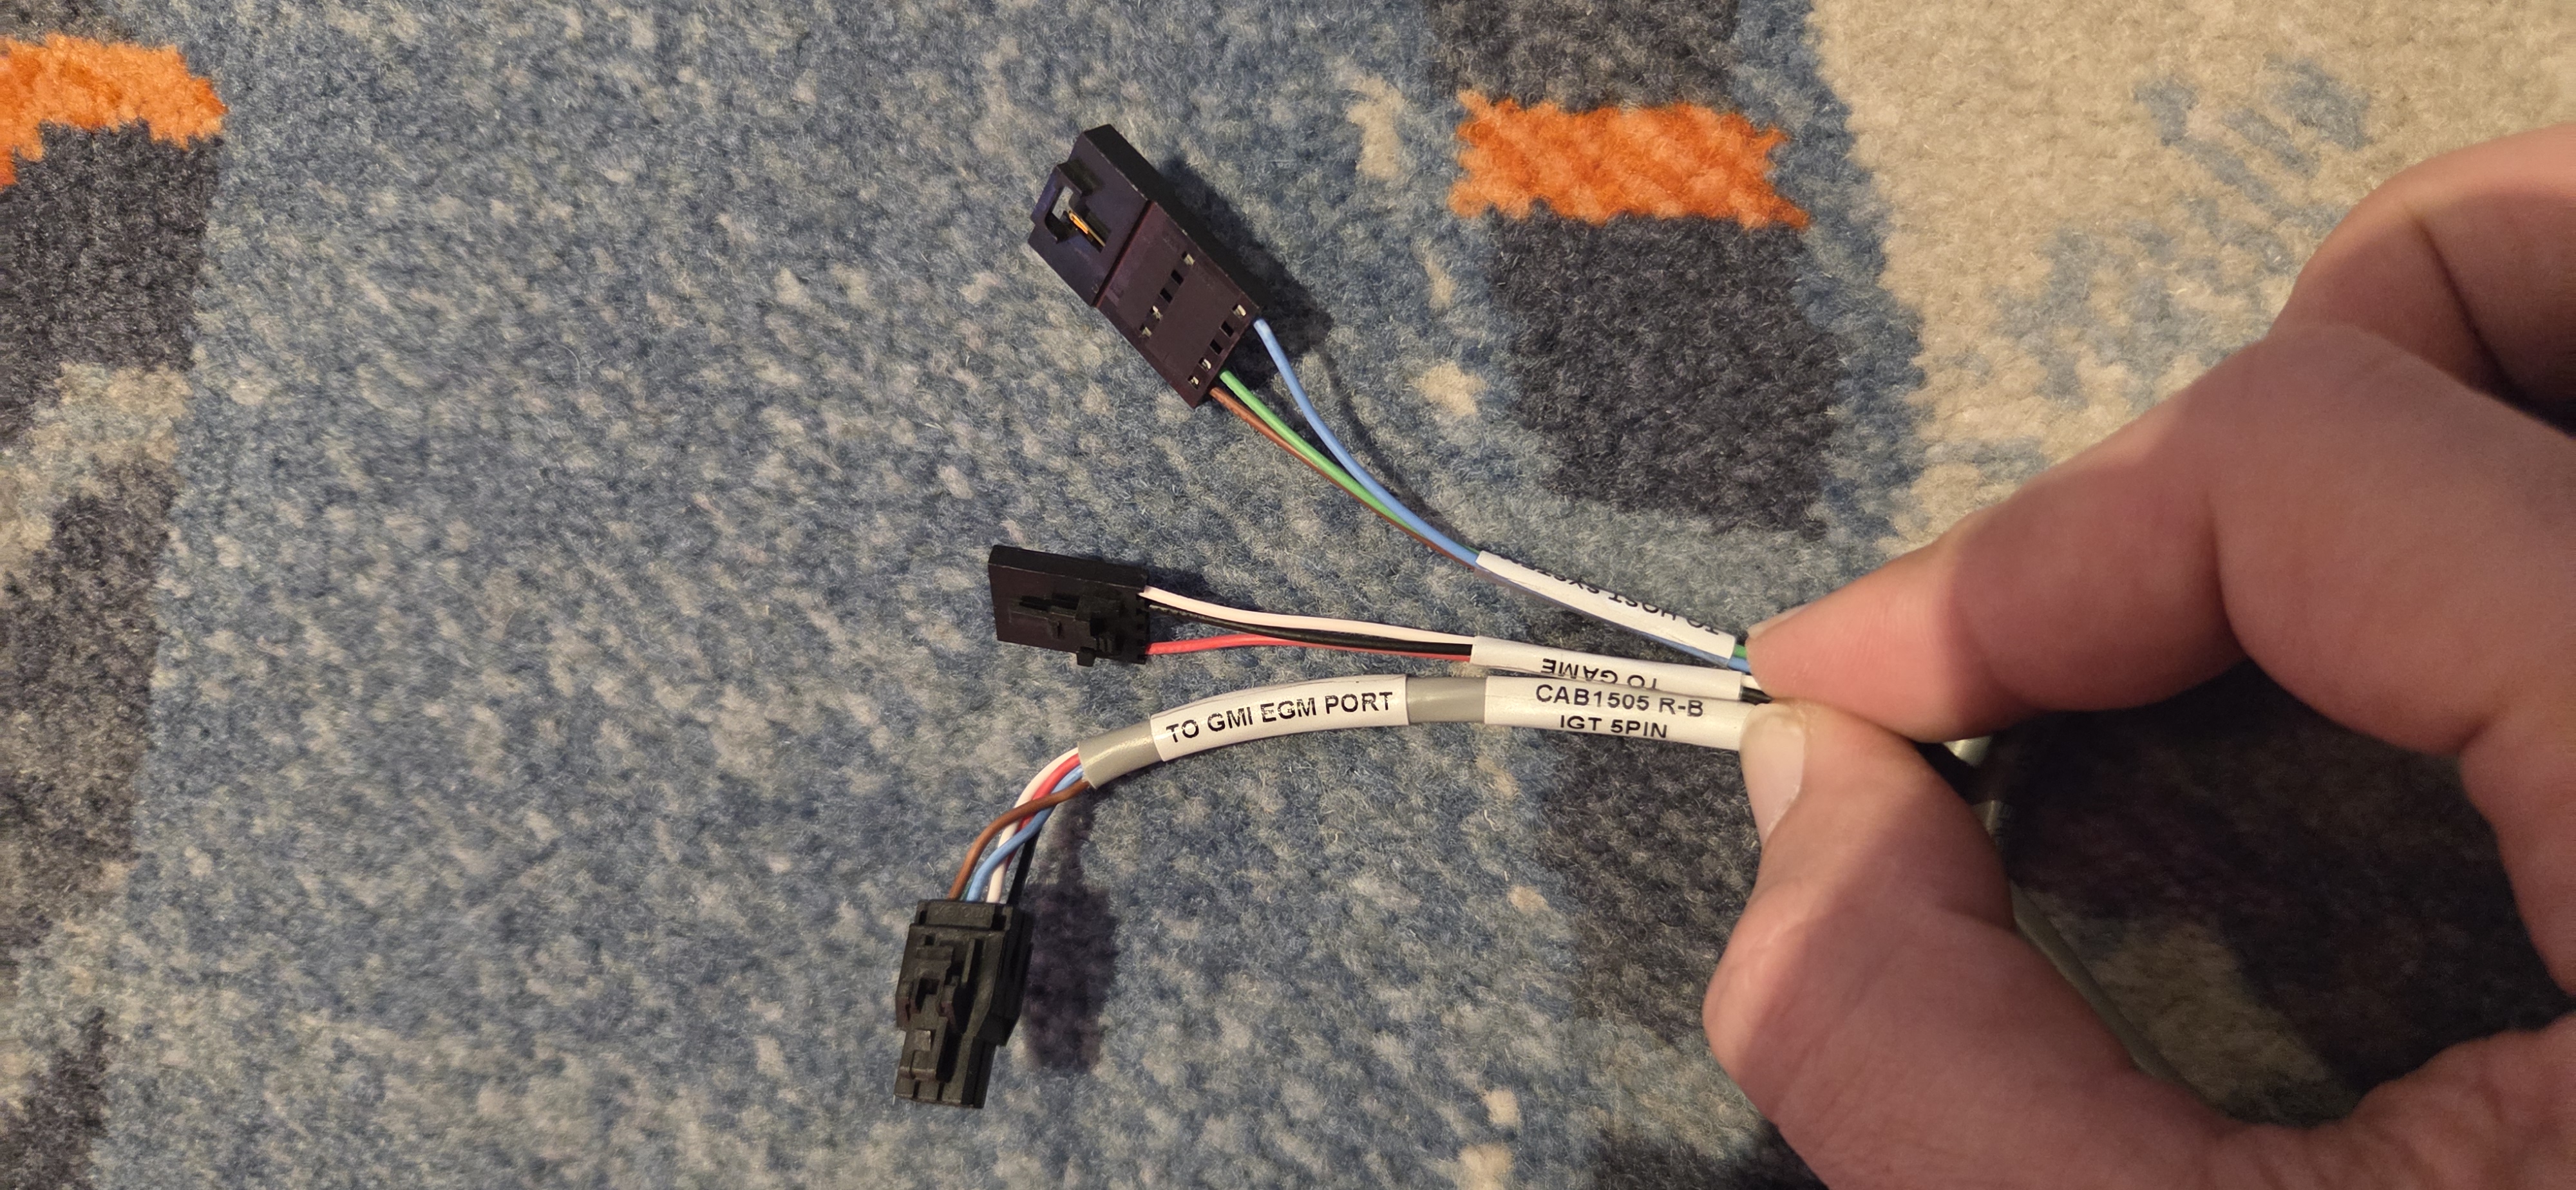
Take your "IGT 5PIN" gray Y-HARNESS and plug the molex side into the EGM port on the GMI box. The other side of this Y-HARNESS has two plugs, a male and female plug. Take the side labeled "TO GAME" and plug it into the backplane, this is the male end. Take the other end of the split, the female end labeled "TO HOST SYSTEM" and connect it to the braided iView Pro cable.
Step 7 - Cat5, Acres, Cisco: Lets tackle plugging in our Cat5 cables now. First things first, one in the GMI box. *VERY IMPORTANT* to make sure the Cat5 cable is plugged into "SYS" side, *NOT* xp. Run this cable down into the base and plug it into the corresponding Acres port for the location of the game. Small red box to big red box, simple.
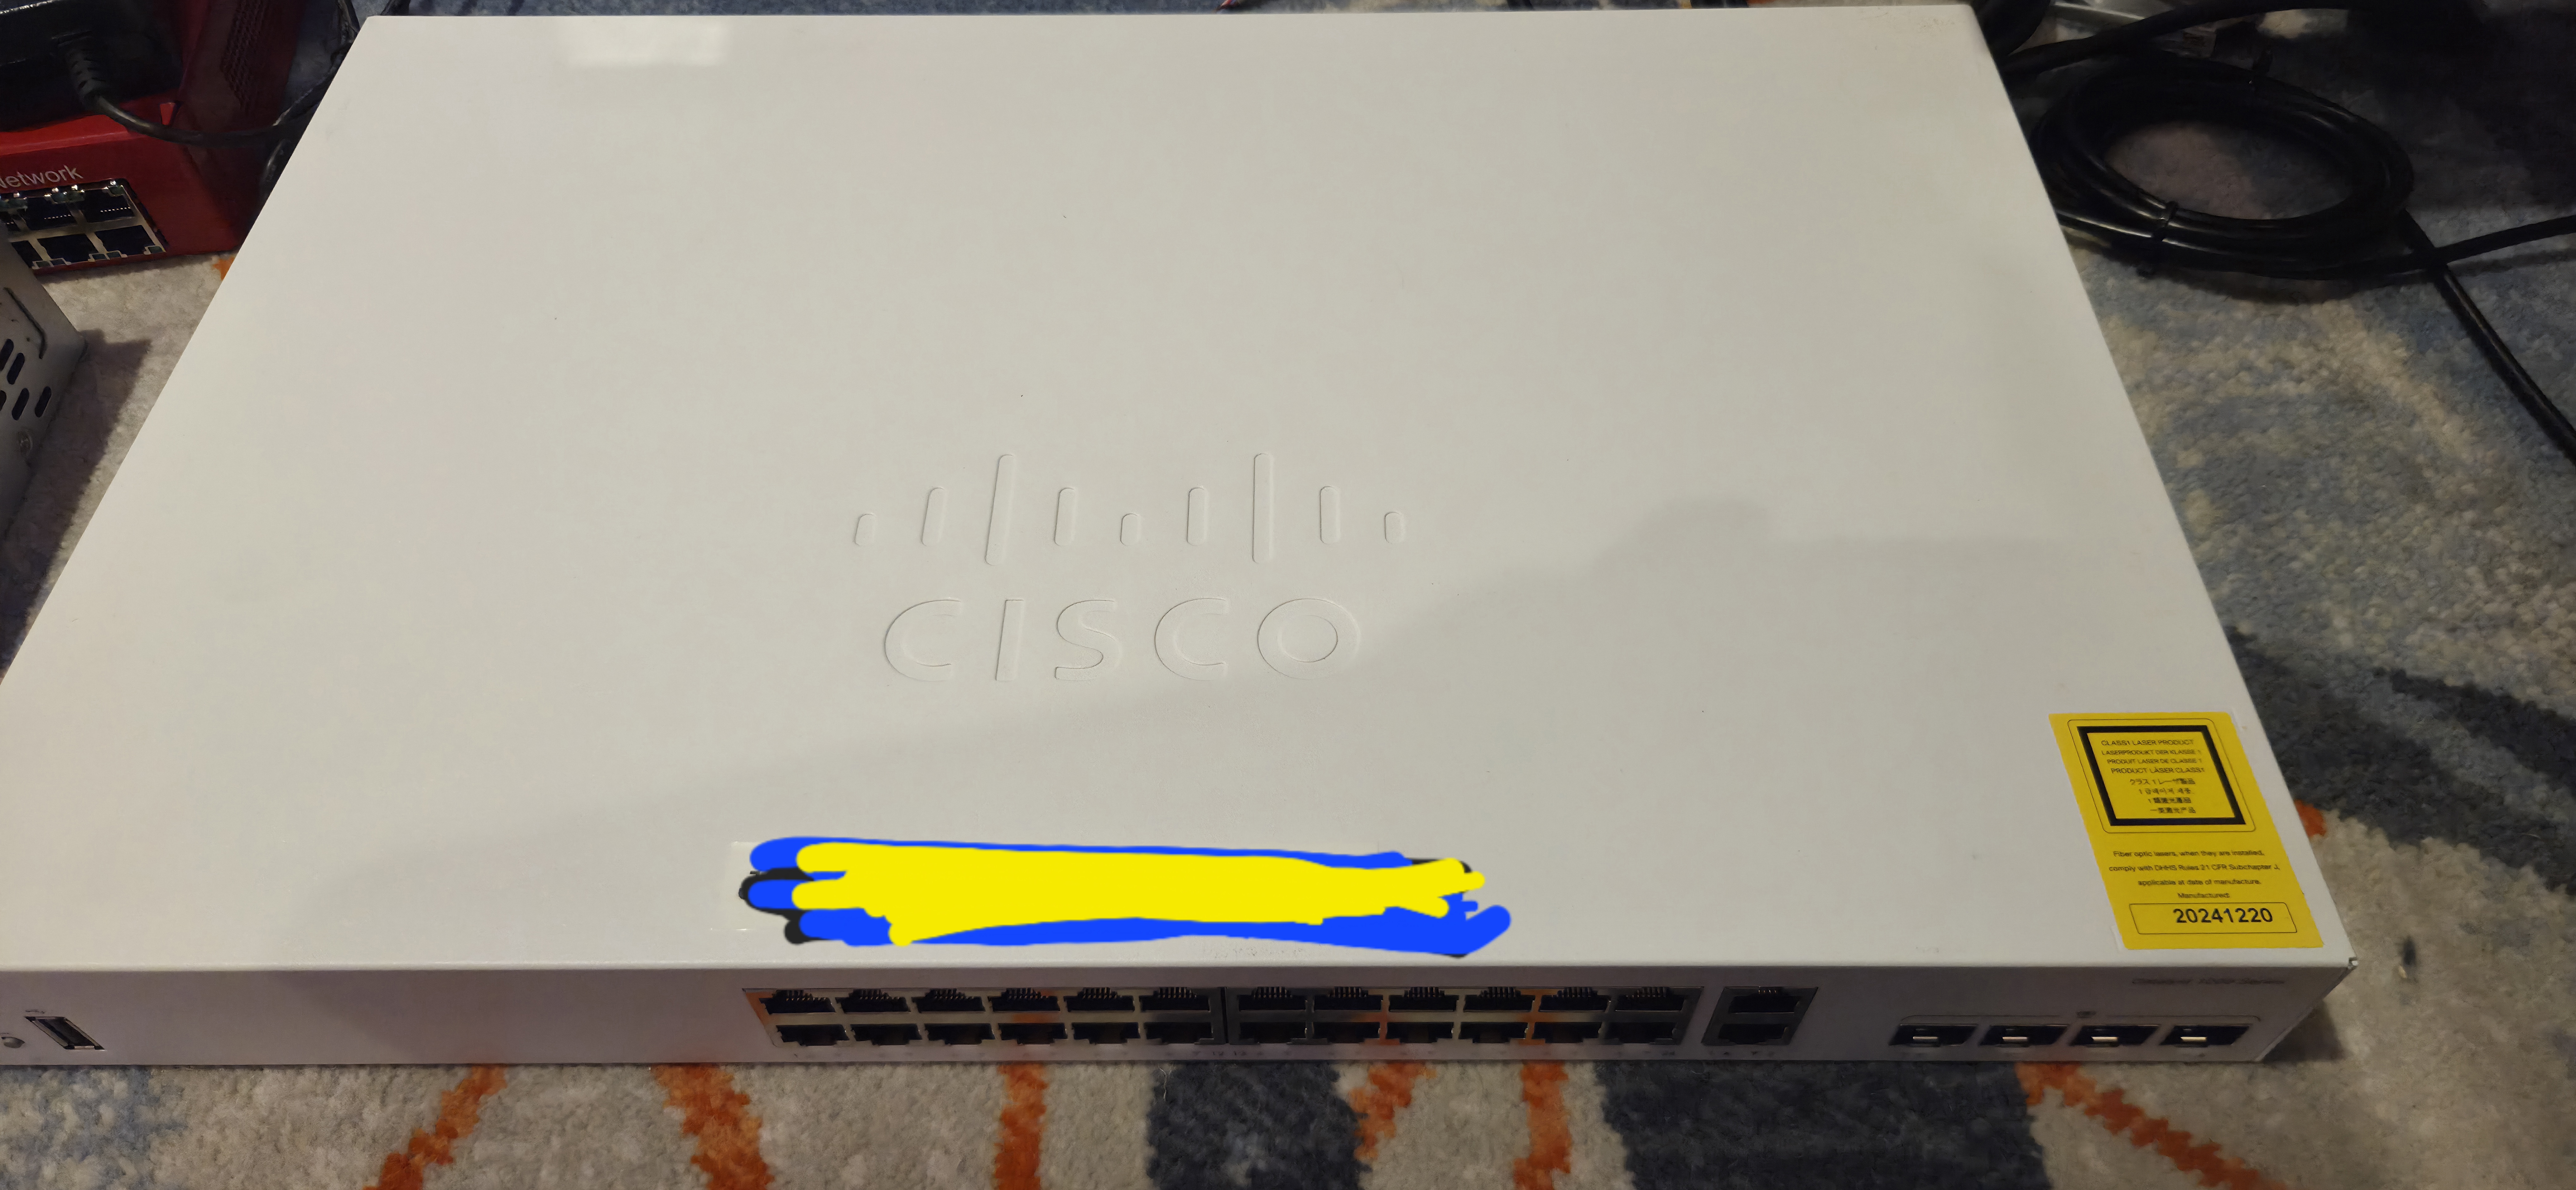
Now plug a second Cat5 cable into ETHERNET1 on the iView Pro Box. Run this under the base and plug it into your white Cisco switch, also using the corresponding port in relation to the location of the game.
Take a third Cat5 cable and plug it into the Network port on your Acres box, then plug the other end into port 23/24 on your Cisco switch.
Take your fourth and last Cat5 cable and plug it into the Homerun box. Confirm with your supervisor on the correct side as it may change. Plug the other end of this into the separated 1st port on the Cisco switch.
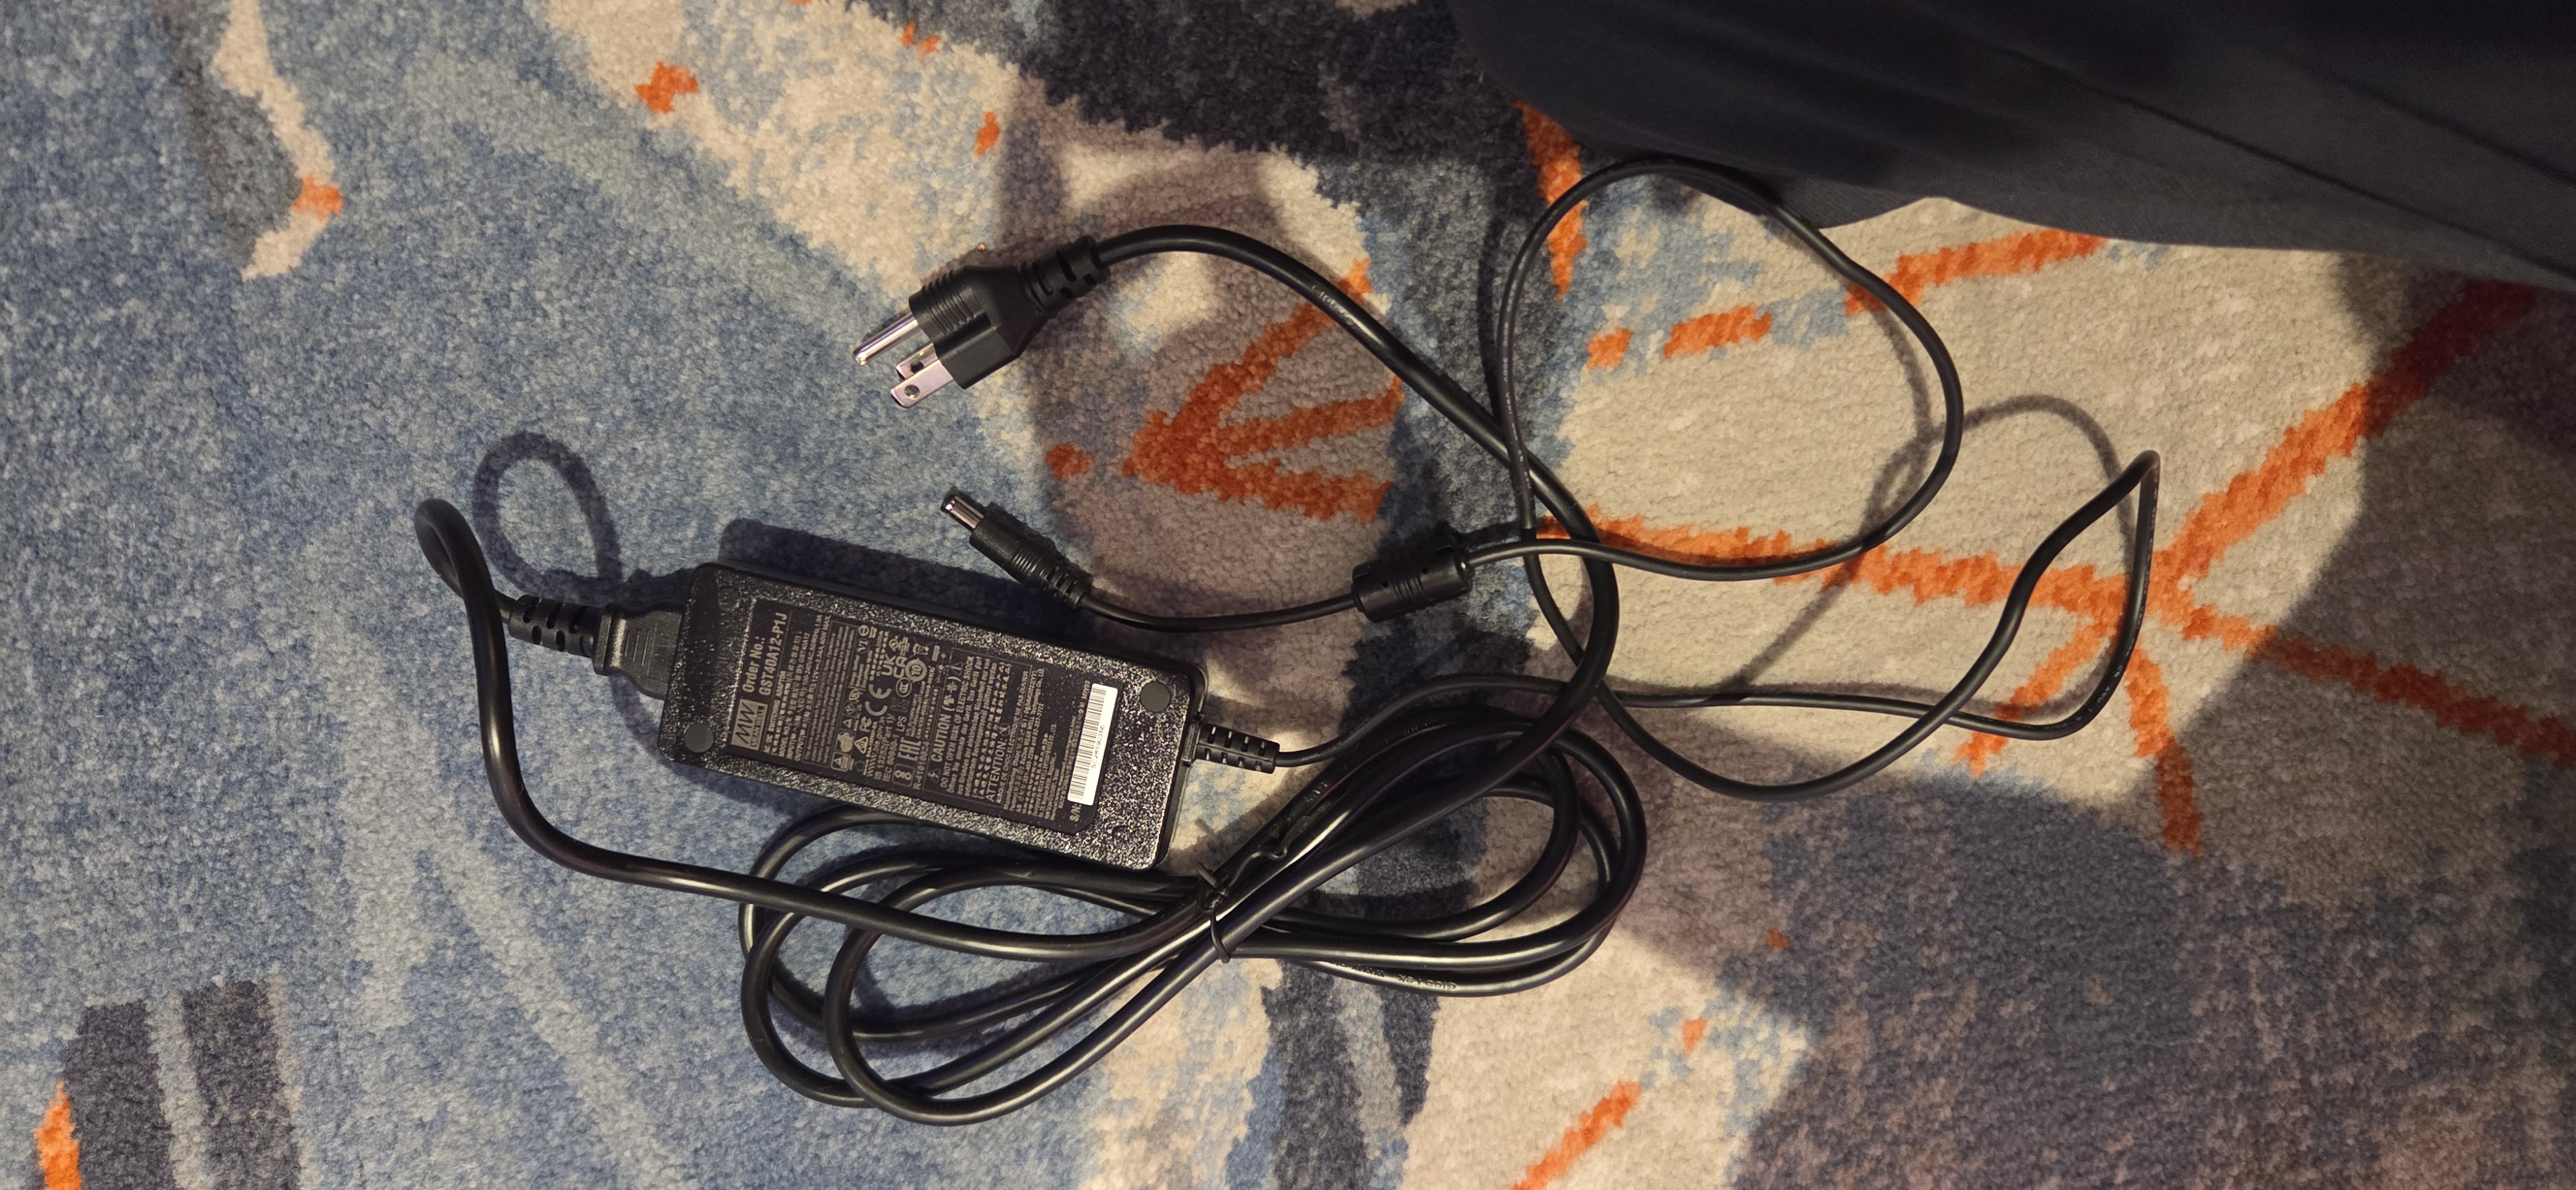
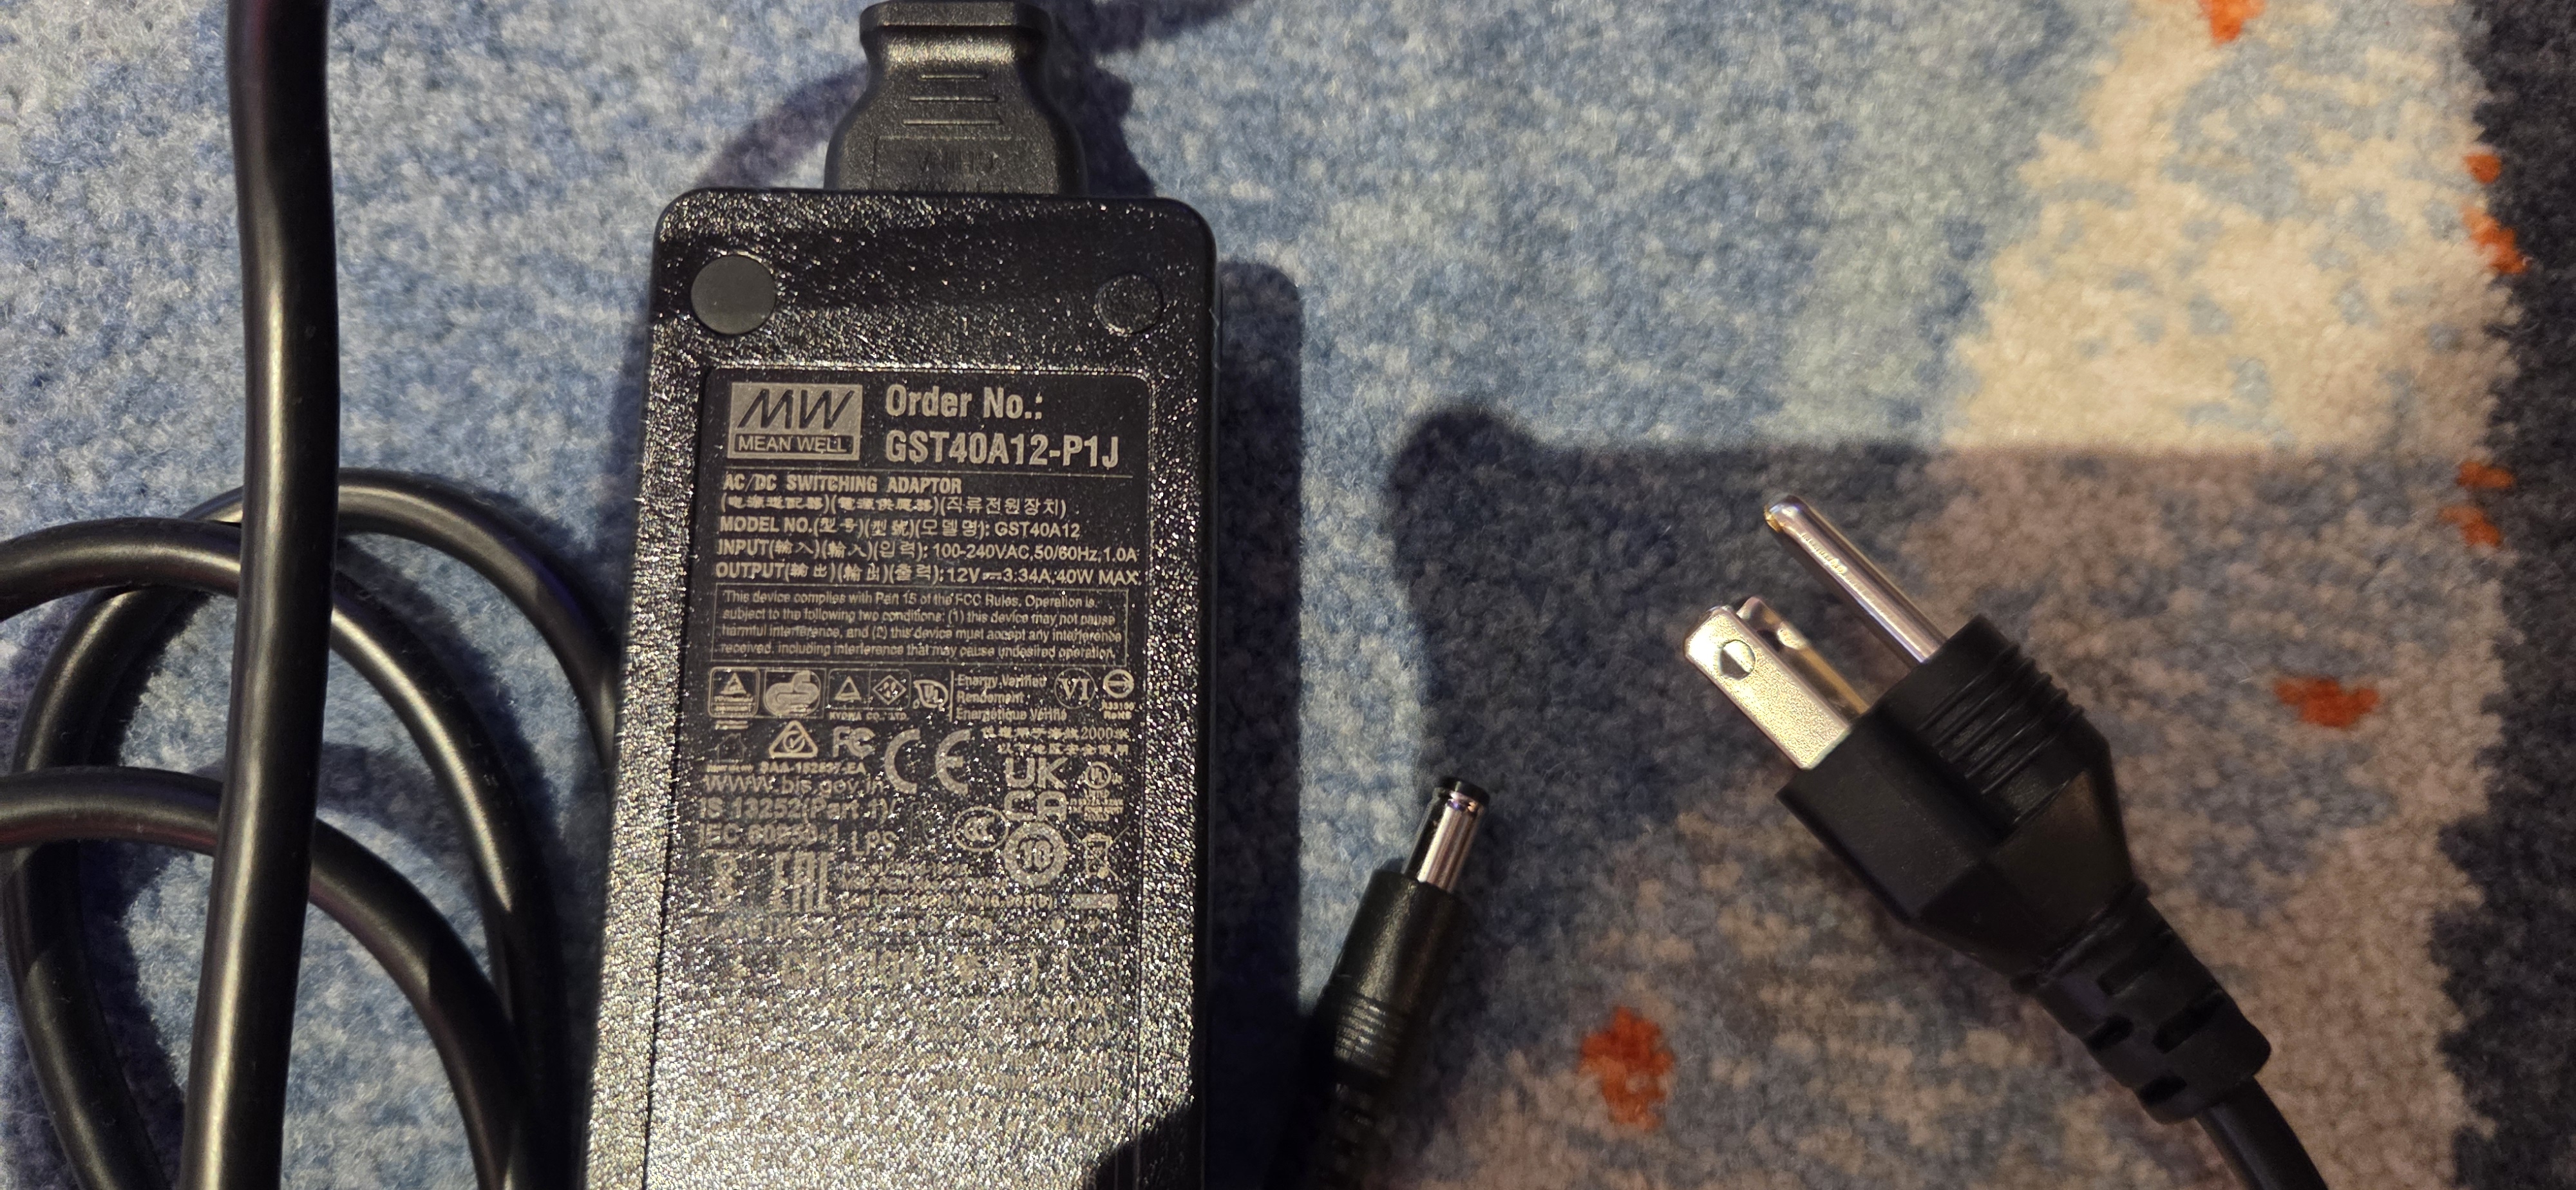
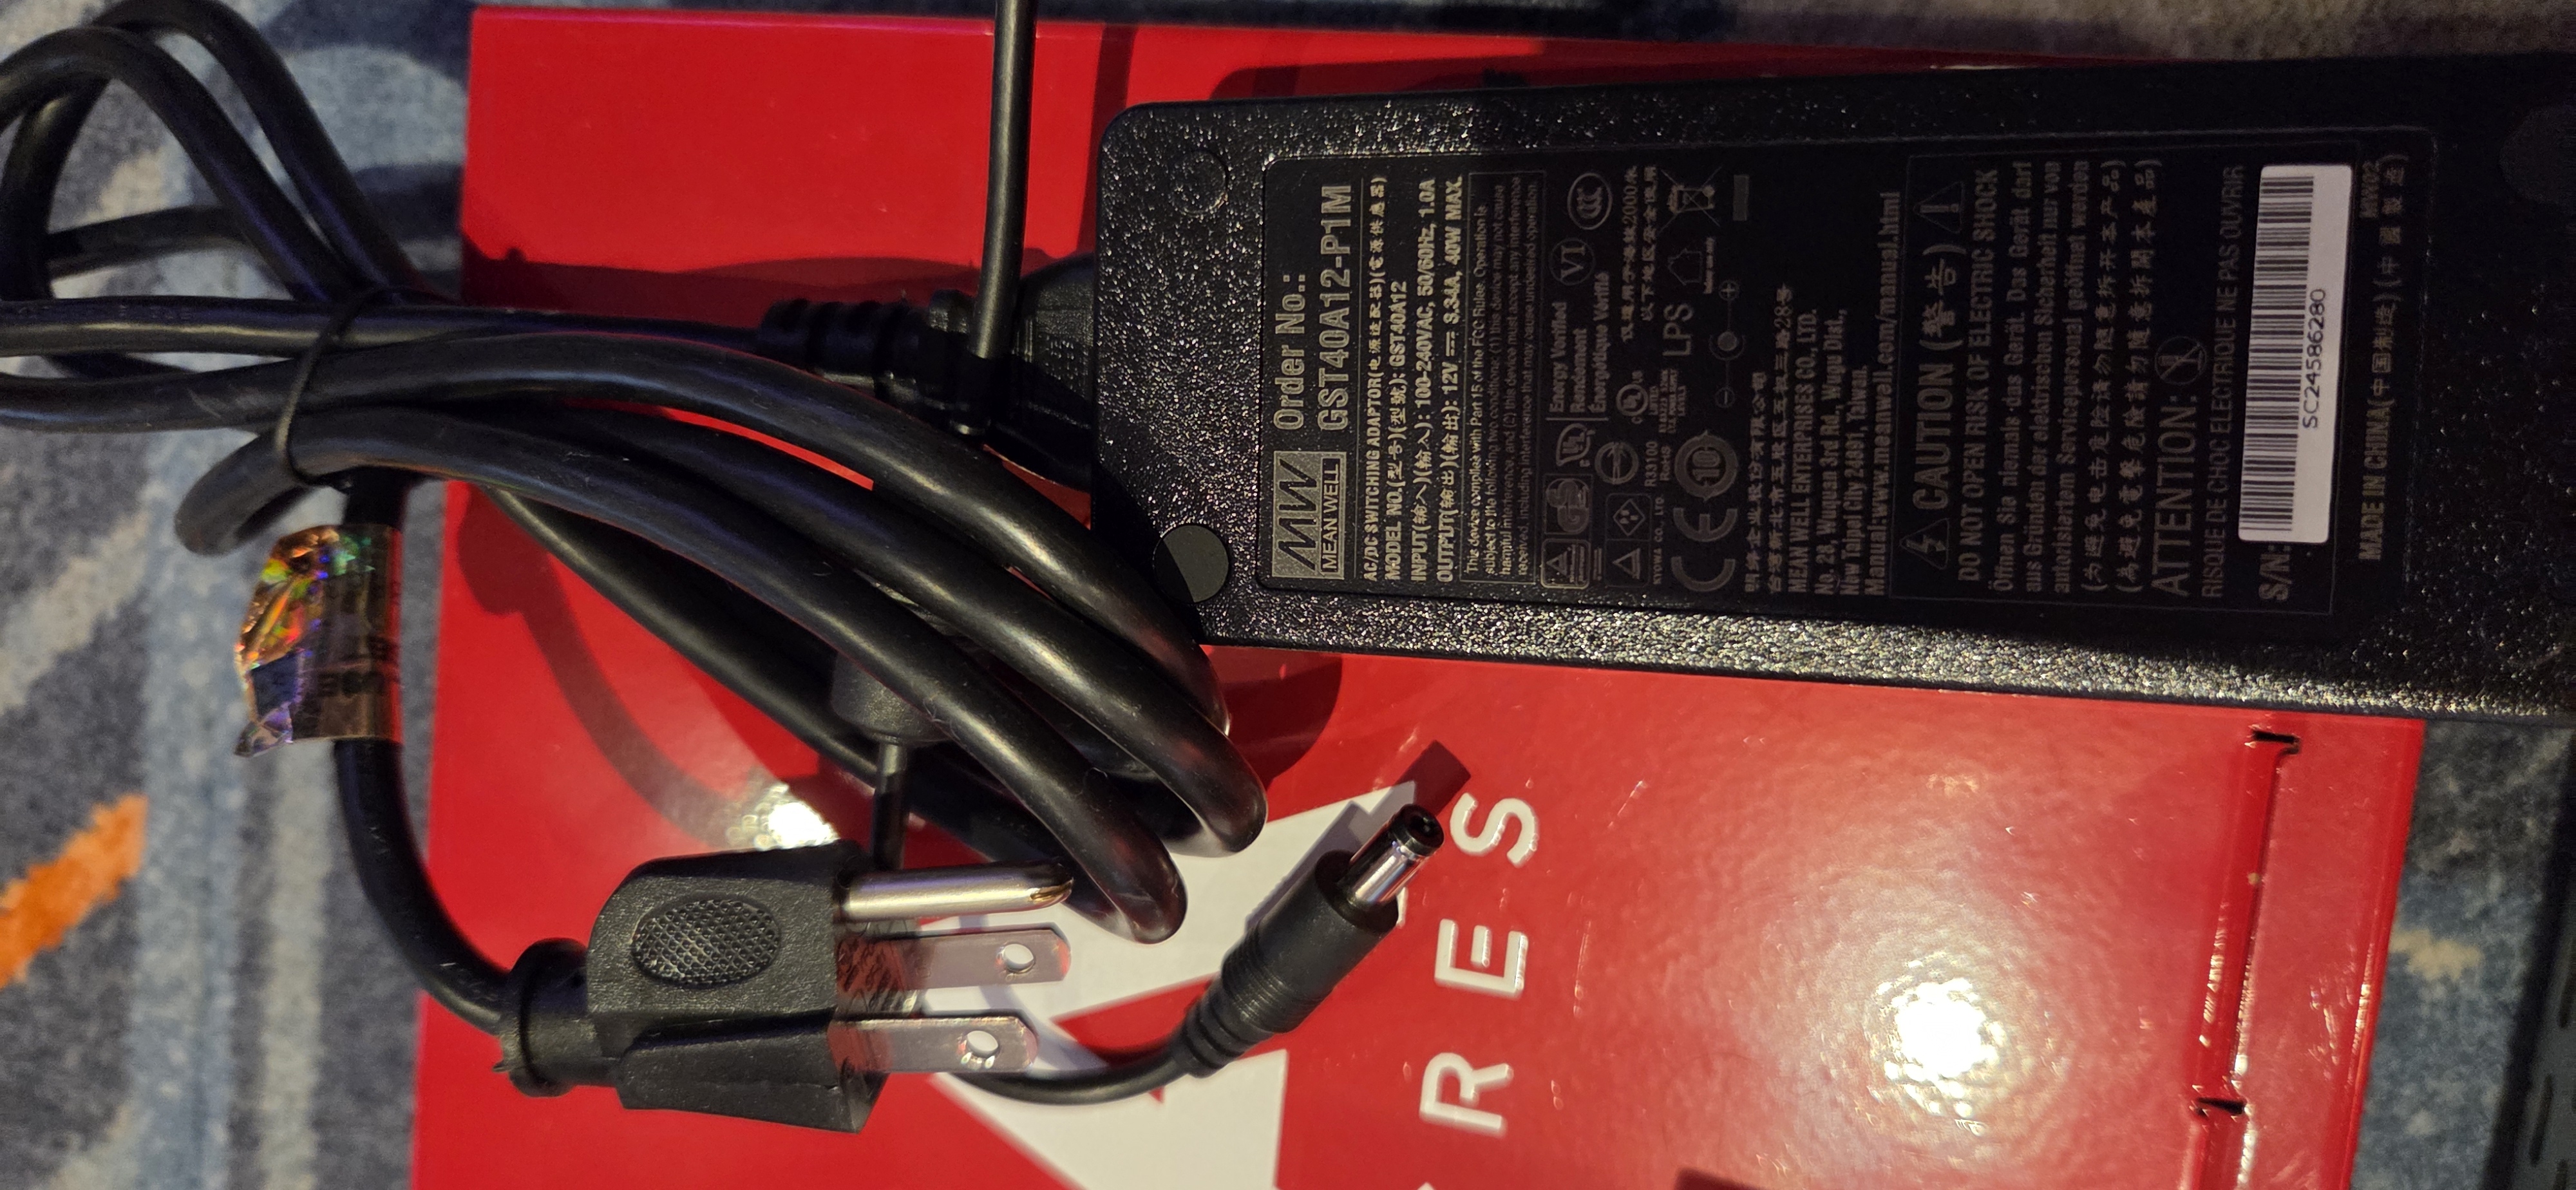
Step 8 - Power - Final Steps: Lets end this guide by plugging everything in. Take your acres power cable and plug it into the power port on your Acres box. (*VERY IMPORTANT.* Make sure this is the correct power connector by trying to plug it into the card reader. If it fits into the card reader, this is the correct cord to use. The distinction being -- the card reader power cable does *NOT* fit inside the Acres power slot, so it *must* go into the card reader. The Acres power cord *DOES* fit into the card reader, so if it fits into both power slots, it is used in Acres. At Hollywood Joliet, our Acres power says P1M, our card reader power says P1J.
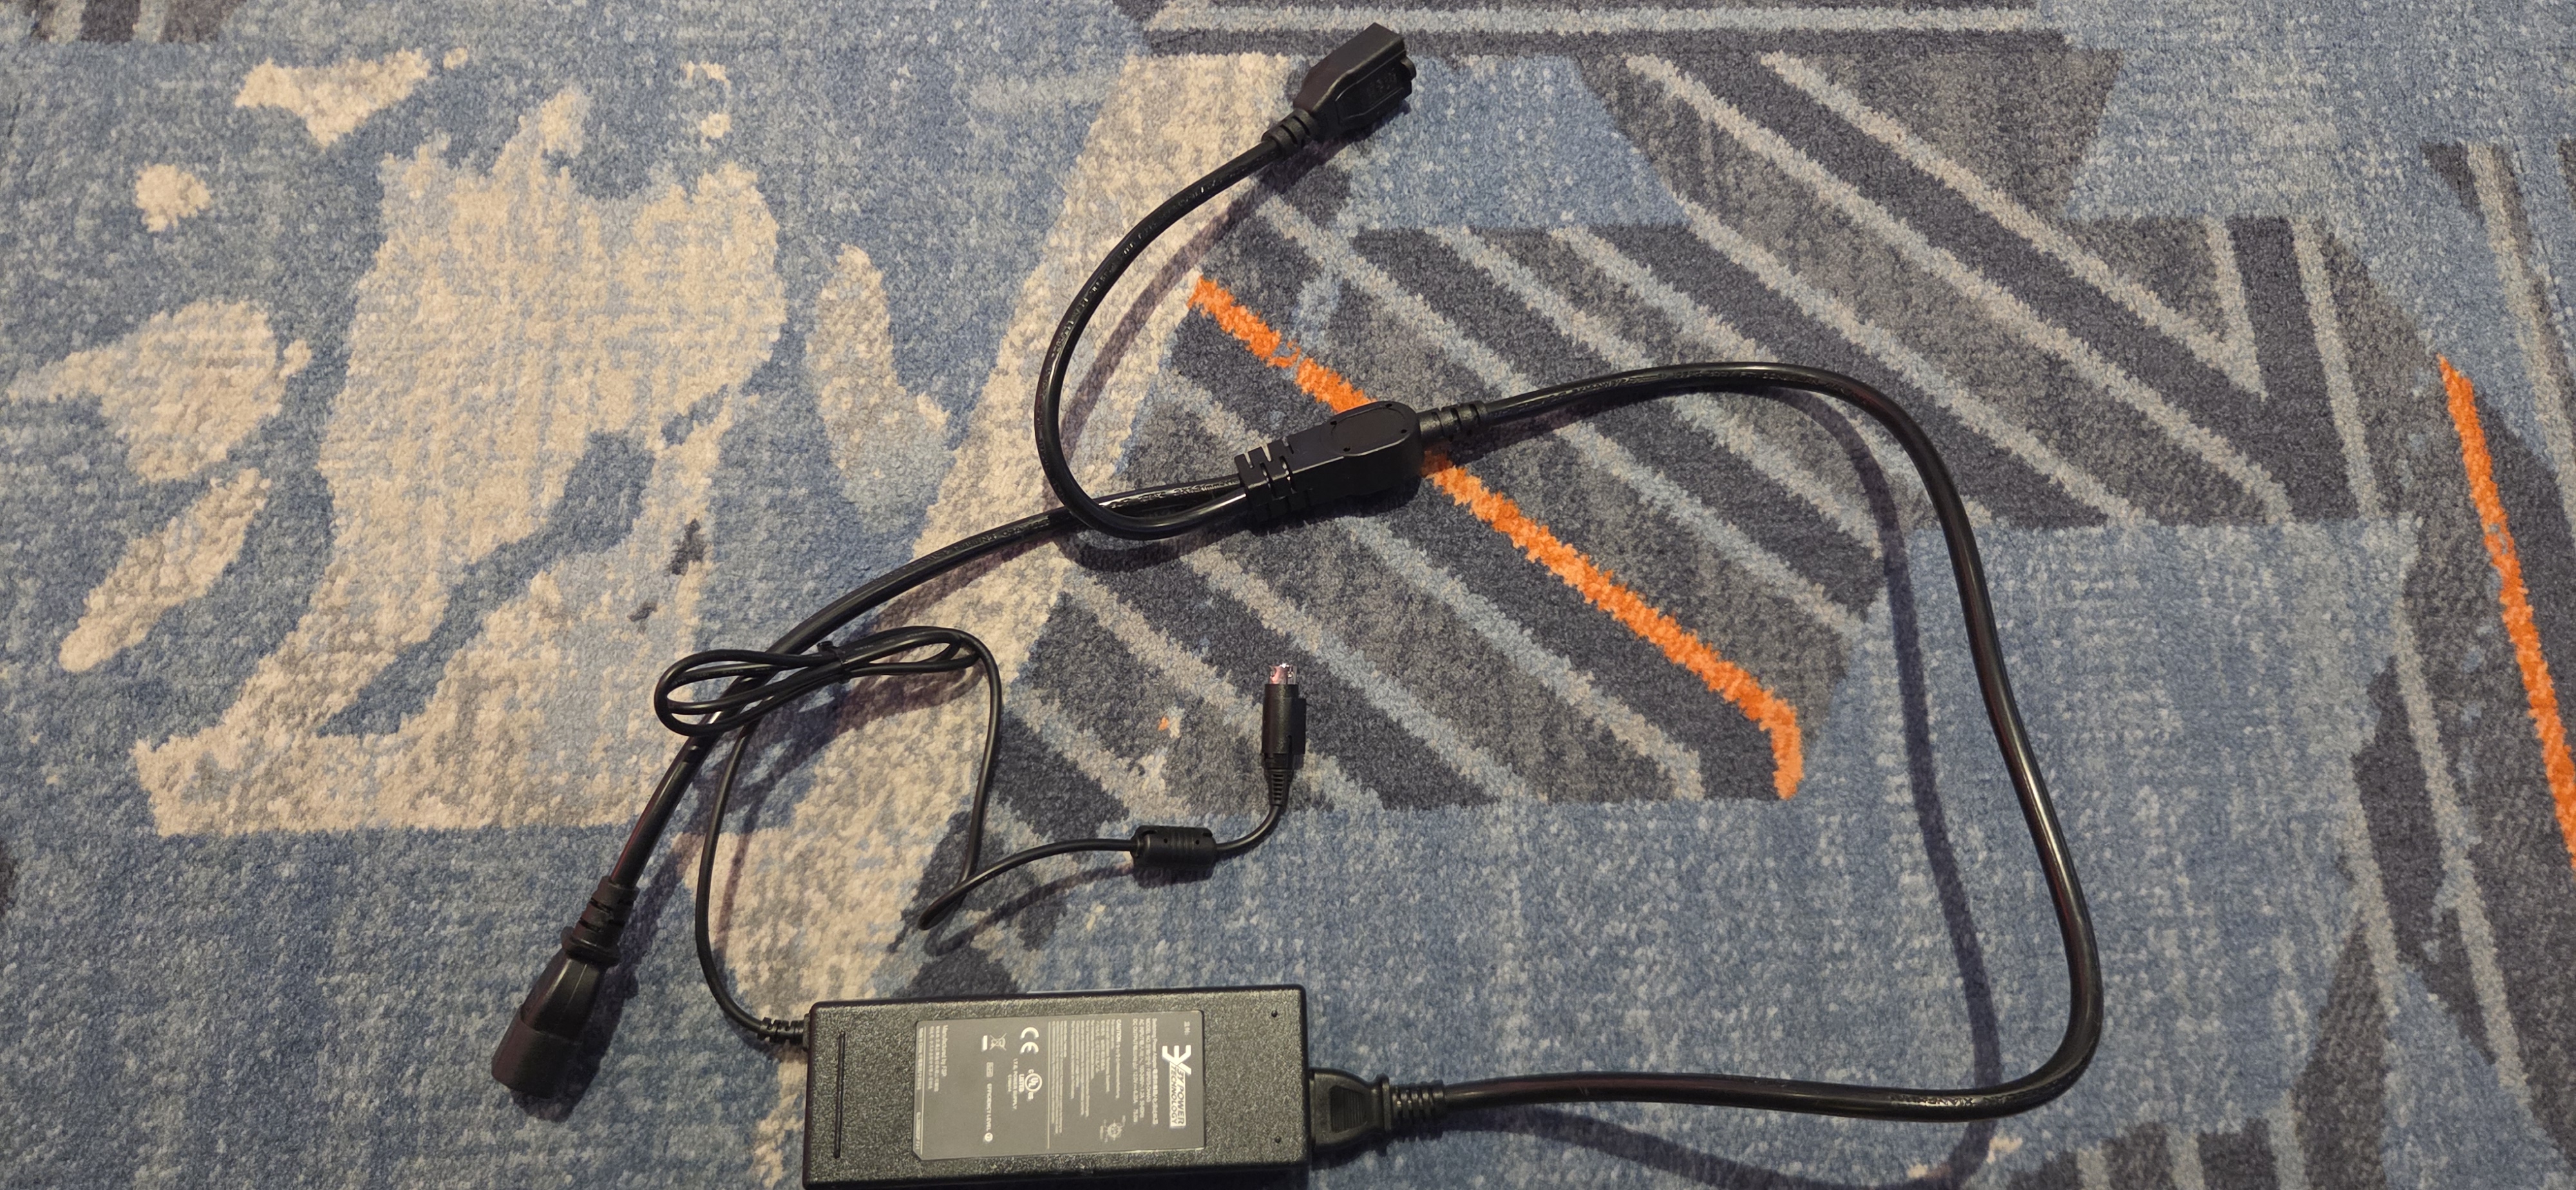
Take your iView Pro power cord and plug the bulky half in. Now, take your POWER-SPLITTER and plug it into the iView Pro power box coming out of iView power. Plug the male end of the splitter into the power supply.
Now, plug your P1J power cord into the card reader then plug it into the female end of the POWER-SPLITTER cable.
Congratulations!: If your cabinet has options and games set up properly and your network is configured for the proper Cisco switch ports, the game should come up communicating! Remember, when it comes to iView > Acres/GMI > Cisco it stays the same. But GMI > Backplane will use a different harness. Make sure to clarify before starting!